Photographing landmarks and tourist sites gets easier when you plan light, angle and rules before you arrive. Check the sun, find a fresh viewpoint, respect local limits, and you will come home with pictures that look like your trip.
| Item | Value |
|---|---|
| Eiffel Tower as a work of architecture | In the public domain since 1990 |
| Eiffel Tower daytime photos | Free of any prior intellectual property rights |
| Eiffel Tower night photos | A law-firm article says use of the images requires the authorization of the SETE |
| US National Park Service drone policy | Superintendents directed to prohibit launching, landing or operating drones on NPS lands and waters |
| Dating of the Eiffel Tower law-firm analysis | December 2015 |
Figures come from a law-firm article on the Eiffel Tower and a National Park Service drone page. Rules and pages change, so check the source before you rely on them.
Why photographing landmarks and tourist sites is hard
Every landmark has been photographed millions of times, so the default postcard shot is already in your camera roll before you leave home. The challenge is not getting the building in frame. It is making a picture that says something about the day you actually stood there.
Most disappointing landmark photos fail for the same few reasons. Knowing them lets you fix them in advance.
- Harsh midday light flattens stone and glass and burns out skies.
- Crowds fill the foreground and make the scene feel smaller than it was.
- Wide-angle distortion bends towers and makes monuments look like they are falling backwards.
- No sense of scale, because nothing in the frame shows how big the place is.
- Rushed framing, when you snap quickly because a tour group is moving on.
The rest of this guide works through those problems in the order you meet them: research, light, composition, crowds, rules and editing. If you want a broader grounding in the craft first, our travel photography tips cover gear and habits that apply to every trip.
Research before you go
Good landmark photos are mostly decided at home. A half hour of looking at maps and other people’s pictures tells you where the best views are, which side faces the sun, and which spots will be shut or crowded.
Scout with maps and photo searches
Search the landmark’s name on a photo-sharing site and sort by the most recent uploads. Notice the viewpoints that repeat, because those are the easy, obvious ones. Then look for the angles that appear rarely: across a river, from a rooftop bar, through an archway, or from a neighbouring hill.
Satellite view helps with the practical side. You can see where the sun will sit relative to the building, where trees block a view, and whether a promising bridge or terrace is actually reachable on foot.
Check access, hours and conditions
Make a short note for each site before you travel.
- Opening hours, and whether the exterior can be photographed when the interior is closed.
- Whether tripods, monopods or selfie sticks are allowed.
- Whether any scaffolding or restoration work is covering the façade.
- Typical busy periods, so you can plan around them.
- Any special-event closures, festivals or ceremonies that change access.
Scaffolding is worth checking specifically. A famous façade wrapped in sheeting is a wasted morning if you only learn about it on arrival, and a quick look at recent photos usually reveals it.
Using light: when and where the sun will be
Light does more for a landmark photo than any lens. Low, warm sun carves texture into masonry, while soft overcast light suits detailed façades that would otherwise be glaring. For a deeper look at timing, see our guide to the best time to photograph landmarks.
Work out the sun’s path
Free solar tools show the direction of sunrise and sunset at any place on Earth. NOAA’s Global Monitoring Laboratory publishes the method behind its calculator, and states: “For sunrise and sunset calculations, we assume 0.833° of atmospheric refraction.” NOAA also warns that “Errors in sunrise and sunset times can be expected to increase the further away you are from the equator, because the sun rises and sets at a very shallow angle.” The details are in its solar calculation notes.
The practical lesson is simple. Near the poles, treat calculated times as a guide and arrive early, because the sun moves along the horizon rather than dropping quickly.
Match the light to the landmark
Different subjects reward different conditions. A west-facing cathedral front glows in the evening, a east-facing temple catches the early sun, and a glass tower often looks best at dusk when its lights come on against a blue sky.
- Stone and brick: low side light shows texture.
- Glass and steel: blue hour and early evening reflections.
- Waterfront monuments: calm morning air gives clean reflections.
- Interiors and shaded courtyards: bright overcast days avoid harsh contrast.
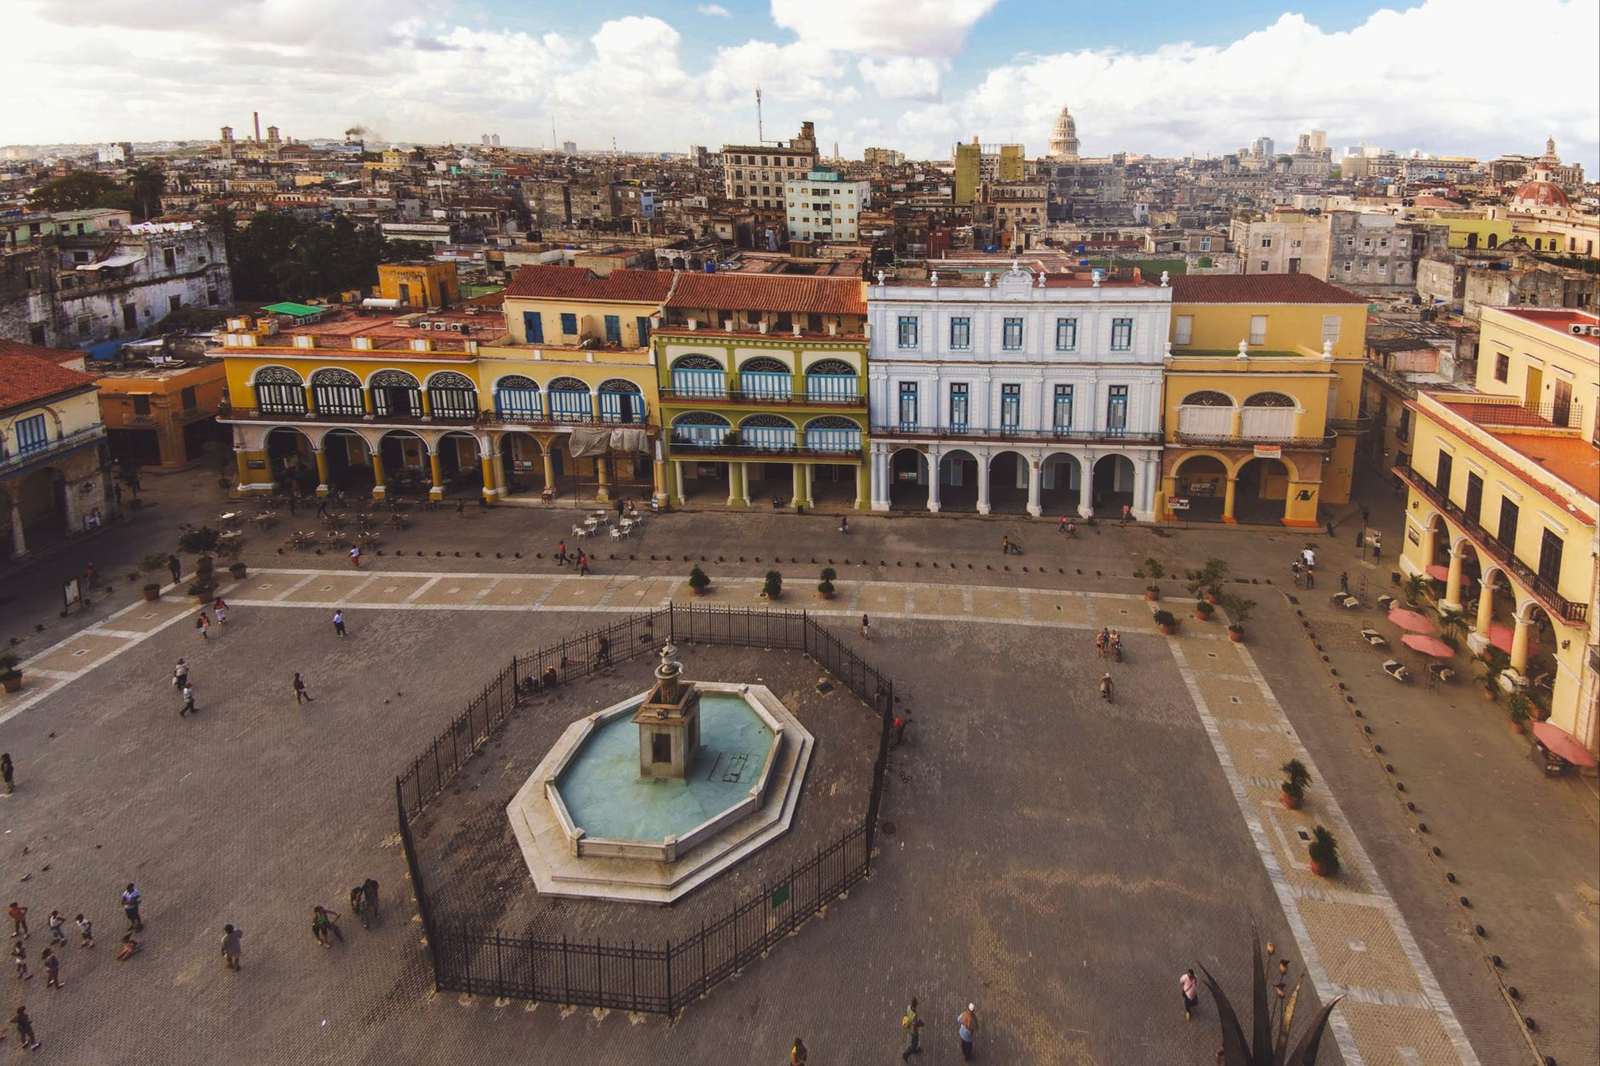
Composition ideas that work at any landmark
Once the light is right, composition separates a record shot from a picture people stop to look at. These ideas work with a phone or a full camera.
Frame the landmark, do not just centre it
Look for natural frames such as arches, doorways, tree branches or a gap between buildings. A frame adds depth and tells the viewer where to look. It also lets you show the landmark at a smaller size, which can feel more elegant than filling the picture edge to edge.
Foreground interest does the same job. A street lamp, a bicycle, a stretch of wet pavement or a market stall in the lower third gives the eye a path into the picture.
Show scale and context
A person, a boat or a doorway beside a huge structure makes its size obvious. Context matters too: the café across the square, the tram passing the gate and the souvenir stalls tell viewers where and when you were. Context is what keeps your picture from looking like everyone else’s.
Keep lines straight
Tall buildings lean when you tilt the camera upward. Step back, use a longer focal length if you have one, and keep the camera level. If you cannot step back, a small correction in editing straightens vertical lines afterwards.
Try different heights and distances
- Crouch low to make a monument tower over the frame.
- Shoot from a far hill with a zoom for a compressed, layered look.
- Look for reflections in puddles, windows and still water.
- Photograph details such as carvings, tiles, door handles and signs, then add them to the overview shots to tell a fuller story.
City views follow their own rules, such as finding elevated spots and balancing the foreground with the skyline. Our guide on how to photograph city skylines goes into them.
Dealing with crowds
Crowds are the single biggest complaint about popular landmarks, and you rarely get to remove them entirely. The better approach is to avoid them where you can and use them where you cannot.
Avoid the busiest moments
Arrive before opening or stay until the end of the day. Tour groups tend to arrive in waves, so a short wait often brings a clearer moment. Weekdays beat weekends, and off-season beats high season. Our detailed advice on how to photograph crowded tourist attractions covers more tactics for busy places.
Use techniques for empty-looking frames
If you cannot visit at a quiet hour, you can still shape the frame. Move to an angle where the crowd is behind a barrier or out of view, use a longer lens to crop out the bottom of the scene, or raise the camera above heads. A slower shutter speed with a steady support can blur moving people so that they become soft streaks instead of distracting faces. For the full toolkit, read how to take photos without tourists.
Make the crowd part of the story
Sometimes the people are the point. A busy square at a festival, a queue stretching down a street or a sea of umbrellas on a rainy day can be more honest than an empty frame. Look for a single interesting person or a gesture against the landmark, and wait for the moment to arrive.
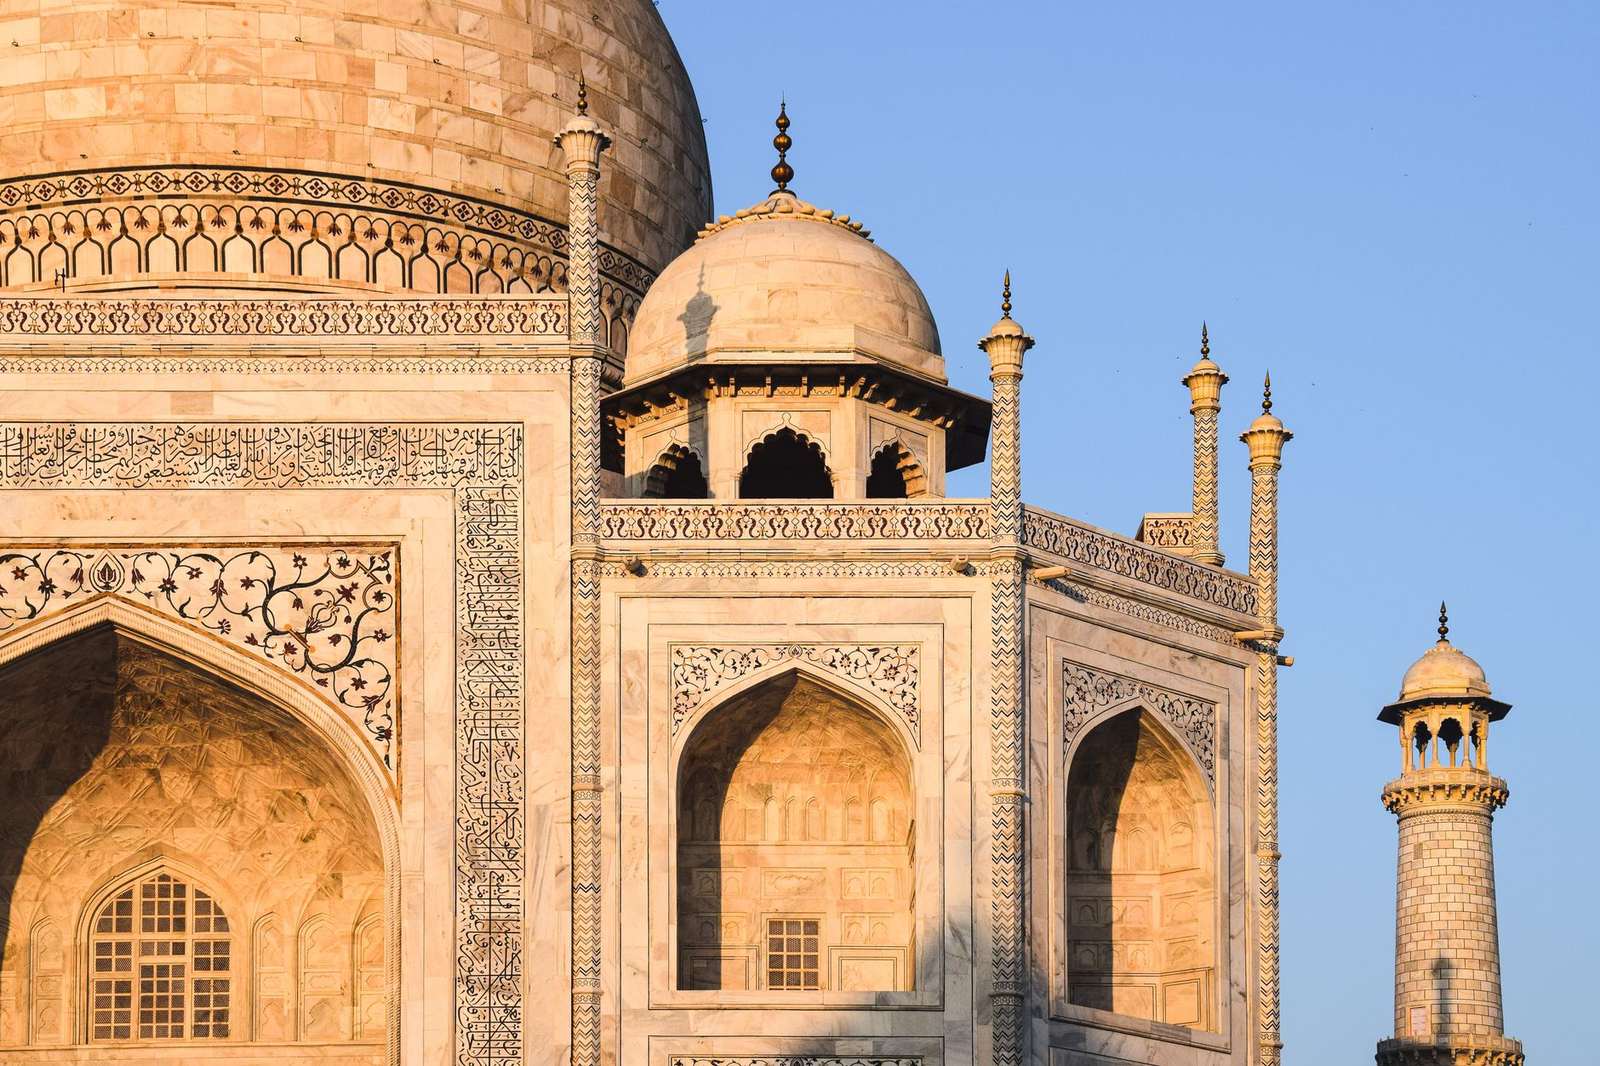
Rules, permissions and good manners
Photography is welcome at most outdoor landmarks, but not everywhere and not in every way. Rules vary by country, by site and sometimes by the day, so a little checking prevents awkward moments and fines.
Know the rules inside buildings
Museums, galleries and places of worship often restrict flash, tripods or photography altogether. Signs at the entrance are the first guide, and staff will usually answer a polite question. We cover the details in our guide to photography rules in museums and churches.
Respect the people around you
Landmarks are also workplaces, places of prayer and daily routes for local people. Do not block entrances or paths for a long shoot, keep your voice down in quiet spaces, and take turns at popular viewpoints. Ask before photographing someone close-up. Our piece on photography etiquette at tourist sites goes into this in more depth.
Understand that the picture itself can be protected
The landmark you photograph can have copyright, and rules differ between countries. The Eiffel Tower is the classic example. A law-firm article explains that “The Tower, as a work of architecture, has been in the public domain since 1990.” It then adds that “the photographs of the Eiffel Tower taken during daytime are free of any prior intellectual property rights, while those taken at night require the authorization of the SETE.”
The same article notes that France had the opportunity to craft an exception for architectural works in public places when it transposed an EU directive. You can read the full discussion in the Dreyfus article, which dates from December 2015, so check for newer developments. This is general information, not legal advice. If you plan to sell or publish a photo of a lit monument, confirm the position with the site or a qualified lawyer first.
The practical takeaway: personal snapshots are one thing, and commercial use of images of protected buildings, lighting displays or artworks is another. Read the terms before you license or sell anything.
Check drone rules before packing one
Aerial shots are tempting at big landmarks, but they are the most tightly restricted kind of photography. In the United States, the National Park Service explains on a park page last updated May 5, 2025 that “The policy memorandum directs each superintendent to use the authority under 36 CFR 1.5 to prohibit the launching, landing, or operation of unmanned aircraft (drones).” The same page describes it as “an interim policy that will remain in place until the National Park Service develops a Service-wide regulation”, so confirm the position on the NPS drone page before you fly.
Other countries and cities have their own rules, permits and no-fly zones. Read our overview of drone laws for travel photography before you pack one.
Gear and phone tips for sightseeing days
You do not need much equipment to photograph landmarks well. A light kit you will actually carry all day beats a heavy bag left in the hotel.
Keep the kit small
- A phone or compact camera for quick, discreet shots.
- One zoom lens if you use an interchangeable-lens camera, so you can switch between wide views and details.
- A small cleaning cloth, because lenses collect fingerprints and dust.
- Spare batteries and storage, since long walking days and night shots drain power.
- A compact tripod or a stable wall, where tripods are allowed, for dusk and night scenes.
Get more from your phone
Modern phones handle landmarks well when you use them deliberately. Tap to set focus and exposure on the building, lower exposure slightly to protect bright skies, and clean the lens before every shoot. Wipe it with a soft cloth, because a smudge causes the hazy glow you often see around lights at night.
Editing apps are where phone photos grow up, with tools for straightening lines, balancing light and removing small distractions. Our roundup of mobile photography apps is a good starting point.
Do not forget people in the frame
Candid scenes around a landmark add life. Locals hurrying past, vendors setting up and children playing are part of the place. For that style of picture, see street photography while traveling.
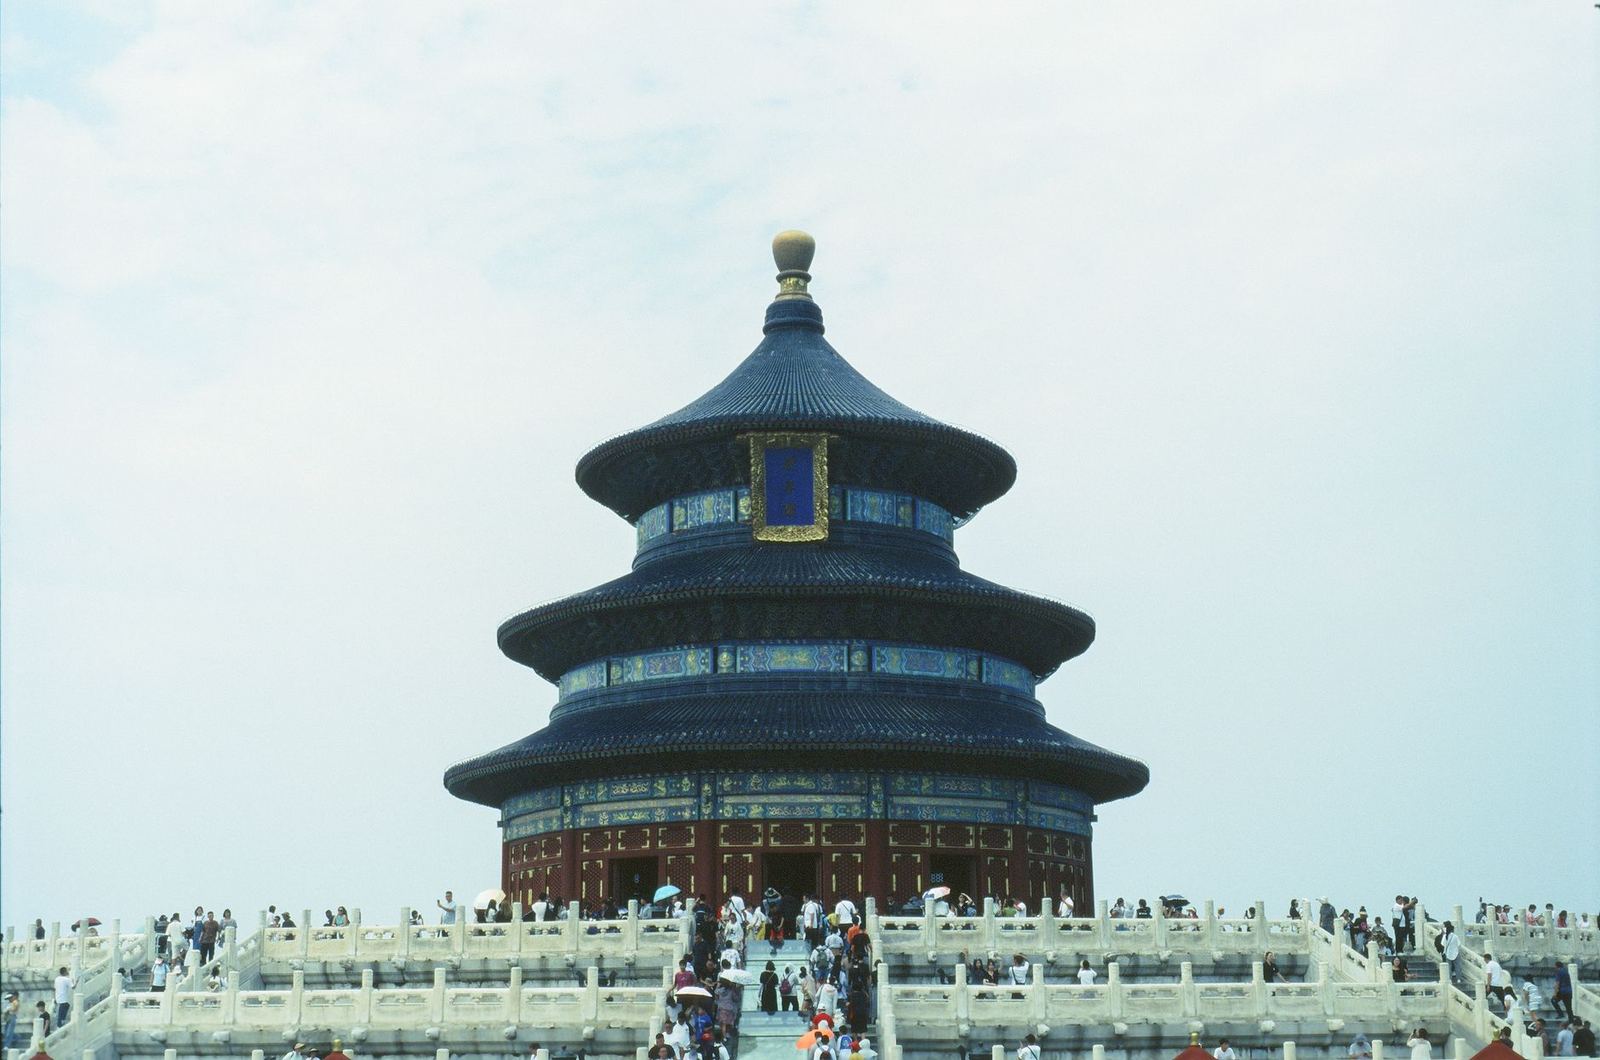
Editing and sharing your landmark photos
Many travellers leave editing until they are home, when the memory of the light has faded. Do a quick first pass each evening instead, while you still remember what the scene looked like, and you will edit with far better judgement.
Editing should finish the picture you already made, not rescue a weak one. Light adjustments usually do more than heavy filters, and a consistent style makes a set of travel photos feel connected.
- Straighten the horizon and vertical lines first.
- Crop to remove distractions at the edges.
- Adjust exposure so highlights in the sky keep detail and shadows are not muddy.
- Tune colour gently, since stone, water and skies look false when pushed too far.
- Remove small distractions such as bins or stray signs, while keeping the scene honest.
When you share, consider adding the place name and a line about what made the visit memorable. Be careful with location tags at fragile or sensitive sites, because sudden popularity can strain places that cannot cope with more visitors. Back up your photos each evening so that one lost phone does not erase the whole trip.
A simple landmark photo checklist
Run through this list on the morning of each sightseeing day. It takes a minute, and it stops the most common regrets: arriving at the wrong hour, forgetting a rule, or leaving with only one view of a place you may never see again. Treat it as a habit rather than a script, and adapt it to each site’s mood and layout.
- Research viewpoints and check for scaffolding or closures.
- Look up sun direction and plan an early or late visit.
- Check rules on tripods, flash, drones and commercial use.
- Shoot wide, then medium, then details.
- Try at least one unusual angle, one frame and one scale reference.
- Be patient and polite, and leave space for others.
Frequently asked questions
Can I photograph any landmark I visit?
Show answer
Usually yes for personal photos from public places, but rules vary by site and country. Interiors, lit displays and protected works can carry restrictions, so check signs and official guidance.
Is it illegal to photograph the Eiffel Tower at night?
Show answer
According to a December 2015 law-firm article, night photos of the tower require the authorization of the SETE, while daytime photos are free of prior intellectual property rights. That analysis focuses on use of the images, so treat commercial use with care and check current guidance.
What is the best time of day to photograph a landmark?
Show answer
Low sun near sunrise and sunset usually flatters buildings best, and it is also when crowds are often thinner. The right moment depends on which way the landmark faces, so check the sun’s path first.
Can I fly a drone at a famous site?
Show answer
Often not. As of the National Park Service page updated May 5, 2025, superintendents are directed to prohibit drones on NPS lands and waters, and other countries have their own rules.
How can I avoid crowds in my photos?
Show answer
Visit very early or late, choose angles that exclude busy areas, use a longer lens, or use a slow shutter to blur movement. Accept some people in the frame when they add atmosphere.