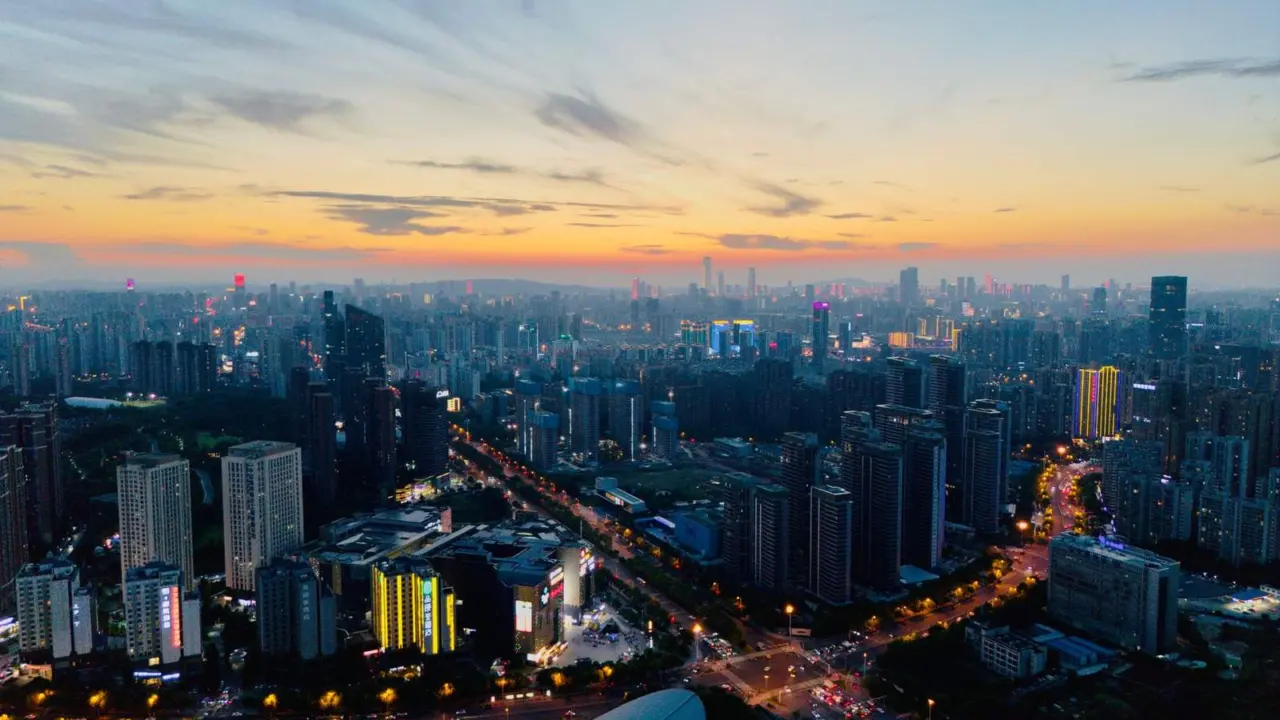
Standing before a glittering skyline with a camera that makes it look flat is frustrating. To learn how to photograph city skylines, pick a high or waterfront vantage point, shoot at blue hour, and use a tripod.
This guide is part of our wider look at photographing landmarks and tourist sites, and it focuses on the skyline view.
| Item | Starting value |
|---|---|
| Suggested ISO | 100 |
| Suggested aperture range | f8 to f16 |
| Lowest ISO on many cameras | 100 or 200 |
| Self-timer to avoid shake | 2 sec |
| Example Hong Kong skyline exposure | 199 seconds at f/10, ISO 100 |
These figures come from photographers’ guides, such as CameraPro’s blue hour cityscape tips and Digital Photography School’s waterfront cityscape guide. They are starting points and can change with your light and camera, so check the sources before you rely on them.
Why a skyline is harder than it looks
A skyline is a huge, layered subject. Your eye adjusts instantly to bright sky and dim streets, but a camera cannot, so the result often looks flat or muddy next to what you saw.
Three problems cause most disappointment: harsh midday light, a cluttered foreground, and a camera that moves slightly during the exposure. Fixing each one is mostly about where you stand, when you shoot, and how steady you keep the camera.
The good news is that a skyline never moves. You can scout, return, wait for better light and refine your framing as many times as you like.
Choosing a vantage point
The vantage point decides how your skyline reads. A viewpoint that is too close makes buildings tilt and crowd together, while a distant one lets you see the shape of the whole city.
Good options usually fall into a few types:
- Waterfront promenades: a river, bay or harbour gives you open space and a chance to include reflections.
- Hills and lookouts: height separates towers from each other and shows depth.
- Rooftops and observation decks: they offer a high angle, but windows can cause glare and some have rules about equipment.
- Bridges and piers: they add leading lines that pull the eye toward the skyline.
- Across-the-water parks: these often give a clear, unobstructed view with room for a tripod.
Scout in daylight with a map and your phone, then note where the sun will set relative to the skyline. If you plan to fly a drone for a higher view, read up on the drone laws for travel photography first, because many city centres restrict flights.
Timing: why blue hour works
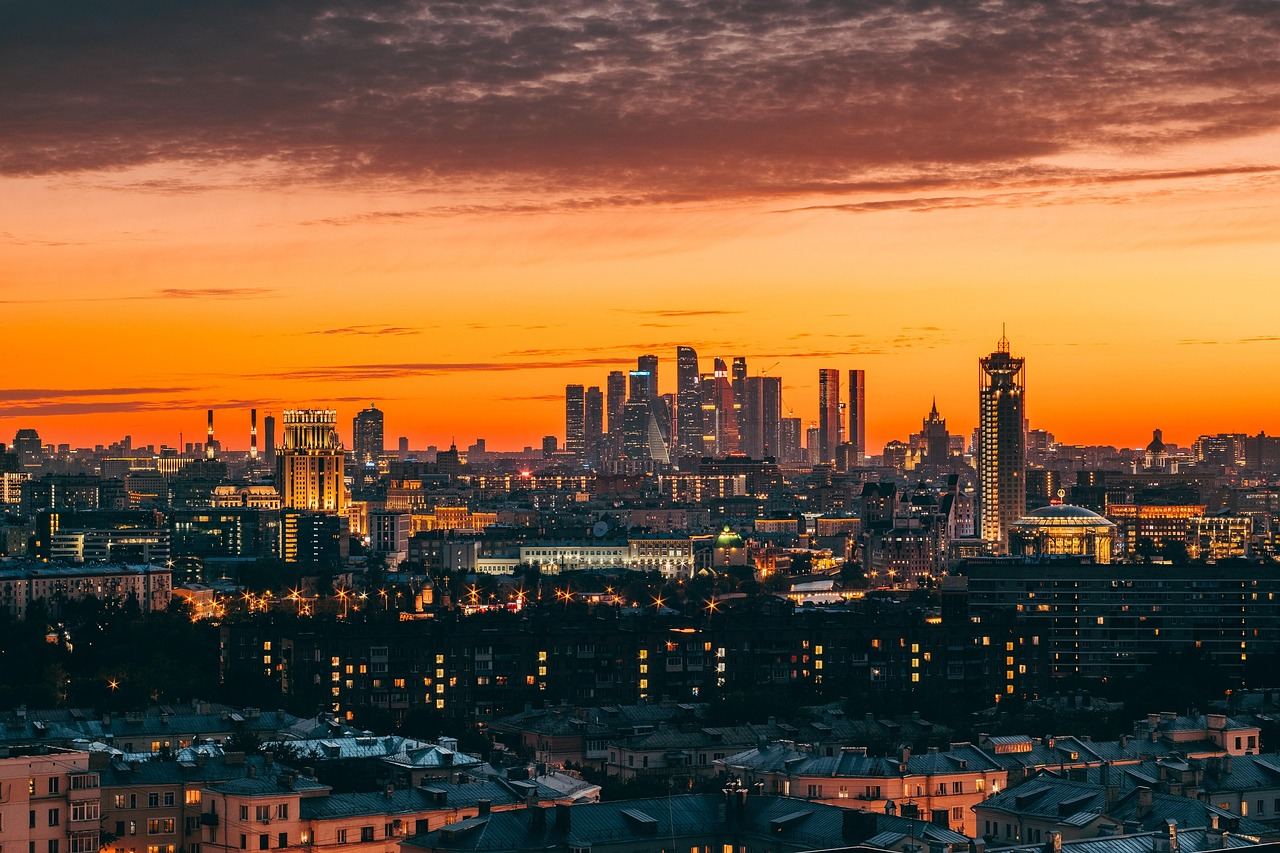
Midday sun gives hard shadows and a washed-out sky. Photographer Craig Turnbull explains his preference in CameraPro’s guide: “For this reason I like to wait for the blue hour: the twilight period shortly after sunset or before sunrise.”
At that point the sky keeps colour and detail while building lights are already on, so the two balance each other. Sunrise can work too, with fewer people and calmer air.
Blue hour changes with the season and your latitude, so look up the times for your date. Our guide to the best time to photograph landmarks covers how to plan around light more broadly.
Camera settings that give a sharp skyline
You do not need exotic gear. A camera that lets you set aperture, ISO and shutter speed, a sturdy tripod and either a remote or a self-timer will do.
CameraPro’s guide gives a clear starting recipe: “Set your ISO to 100, aperture between f8 and f16 and use your exposure meter or histogram to set the shutter speed and achieve the correct exposure.” The same guide notes you can usually use the lowest available ISO, “usually 100 or 200 depending on your particular camera.”
Follow these steps at the scene:
- Set the tripod on a stable platform and keep the camera strap from flapping in the wind.
- Switch off lens or in-body image stabilisation, which can introduce blur on a tripod.
- Choose a low ISO and a narrow aperture, then let the shutter speed run long.
- Check the histogram and adjust the shutter speed until highlights and shadows both hold detail.
- Trigger the shutter with a remote or the camera’s self-timer so your finger does not shake the frame.
On the timer, CameraPro lists a “shutter remote (optional) – alternatively, use a 2 sec timer on your camera.” Shoot RAW if you can, since mixed light sources give you more room to correct colour later.
How long will the exposure be?
Longer than you might expect. Digital Photography School’s waterfront guide lists examples such as a Hong Kong skyline at “18mm, f/10, 199 seconds, ISO100” and a Singapore skyline at “18mm, f/5.6, 409 seconds, ISO100.”
Those are very dark scenes shot late in twilight. Earlier, when the sky is brighter, the exposures are much shorter. The same guide describes a Marina Bay shot with “2 seconds of exposure (at f/13) without using any neutral density filter.”
So treat any number as a reference, not a rule. Take a test frame, read the histogram and adjust as the sky darkens, because the light changes every minute.
Composition and framing tips
A sharp, well-exposed photo can still feel dull if the frame has no structure. Build the picture in layers.
- Foreground: include water, a railing, trees or a pier so the skyline has depth rather than floating at the top of the frame.
- Midground: use bridges, roads or boats to lead the eye.
- Background: place the tallest or most recognisable building off-centre, and leave breathing room around it.
Keep the horizon straight and the verticals upright. CameraPro advises that with cityscapes “it is important to level your camera both left and right and up and down, using either the level on the tripod or, if available, the electronic level in camera.”
Water is a bonus. Digital Photography School notes that a long exposure can give “silky smooth water effects,” which calms a busy foreground and mirrors the lights.
Practical checks before you go
A little preparation avoids a wasted evening. Check these points ahead of time:
- Whether tripods are allowed at your chosen spot, especially on decks, plazas and in parks.
- The sunset and blue hour times for your date, and the weather forecast.
- Battery charge, memory space and a spare cloth for lenses.
- Safe access and a way home after dark, ideally with company.
Arrive early, so you can set up before the light peaks and still have time to try a second angle.
Frequently asked questions
What is the best time to photograph a skyline?
Show answer
Blue hour, the twilight period shortly after sunset or before sunrise, is a popular choice because the sky keeps colour while building lights are on.
Do I need a tripod?
Show answer
For long exposures, yes. Even a small movement blurs a long exposure, so a stable tripod plus a remote or self-timer is the simplest way to stay sharp.
What aperture and ISO should I start with?
Show answer
CameraPro suggests ISO 100 and an aperture between f8 and f16, then setting the shutter speed by your exposure meter or histogram.
Can I shoot a skyline with a phone?
Show answer
You can, though you will get the best results by steadying the phone on a small tripod or solid surface and choosing the same vantage points and timing described above.