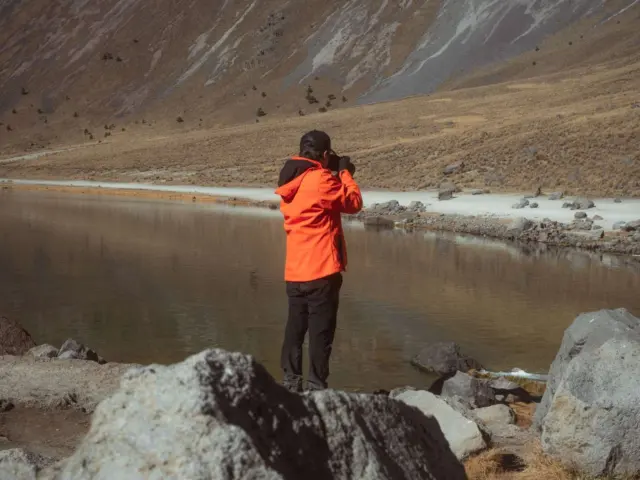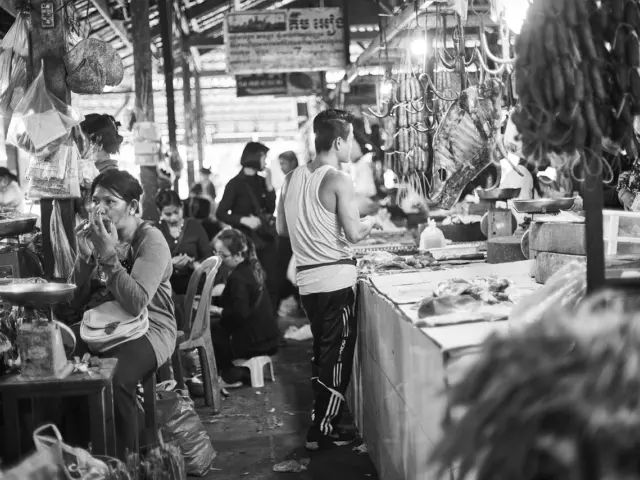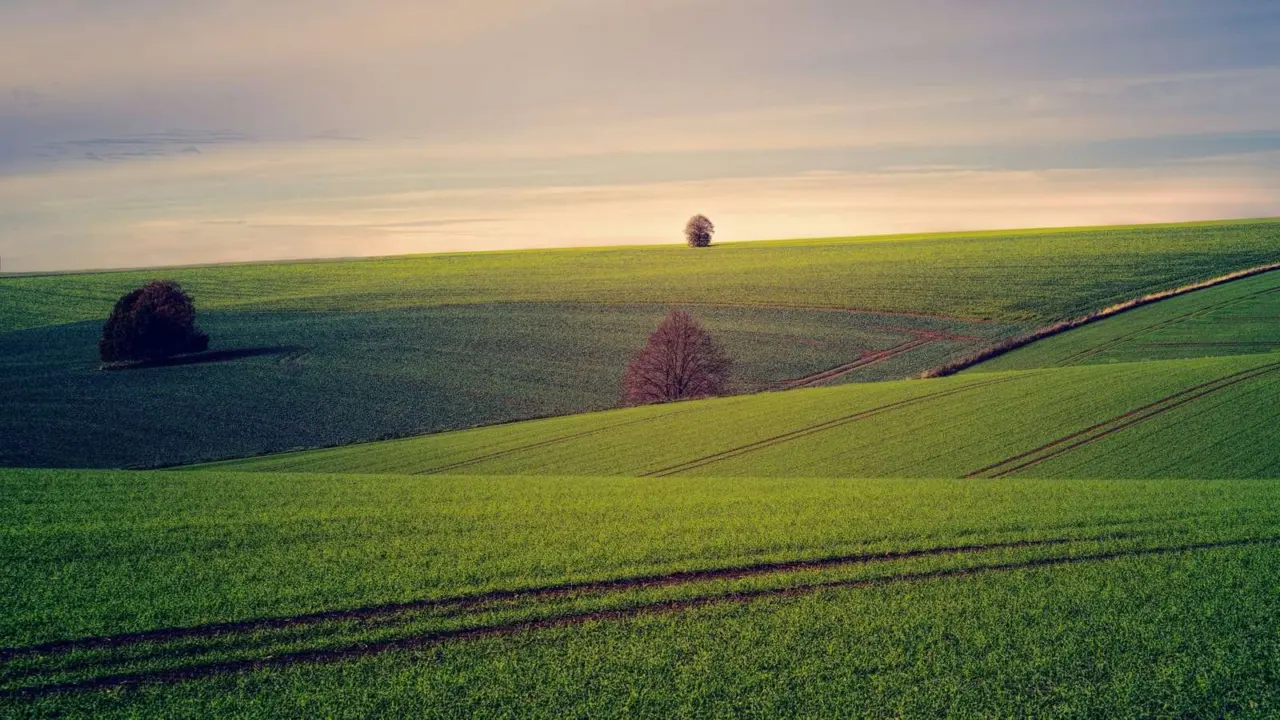
Your trip photos look flat next to the real view, and you want to fix that. These travel photography composition tips give the answer: place your subject deliberately, use lines and frames, and simplify the scene.
This guide is a companion to our broader travel photography tips.
| Technique | What it means |
|---|---|
| Rule of thirds grid | 9 equal parts |
| Subject placement | Where the grid lines intersect, not the center |
| Leading lines | Lines that draw the viewer’s eye towards the main subject |
| Framing | Elements that create a frame around the main subject |
| Fill the frame | Zoom in or get closer to the subject |
Figures come from the Unsplash Help Center composition guide and TechRadar’s composition rules. Guidance can change, so check the sources before you rely on it.
Why composition matters more than gear when you travel
Travel puts you in front of famous views that countless people have already shot. What makes your version different is composition: how the visual elements are arranged inside the frame.
TechRadar puts it plainly: “Poor photo composition can make a fantastic subject look pretty dull, but a well-framed scene can create a wonderful image from the most ordinary of situations.” That is good news on a trip, because you can’t always control the light, the crowds or the weather. You can always control where you stand and what you include.
The techniques below cost nothing and work with a phone or a camera. Try one at a time, so each one becomes a habit rather than a checklist you forget by lunchtime.
Use the rule of thirds as a starting point
The Unsplash guide calls the rule of thirds “probably the most popular principle of photography composition.” The technique involves dividing the frame into 9 equal parts using two vertical and two horizontal lines.
The same guide says the main subject should sit where the lines intersect, rather than in the center of the frame. Most phones and cameras can show this grid on screen, so turn it on in your settings before you travel.
Here is how it plays out in common travel scenes:
- Landscapes: put the horizon on the upper or lower line instead of cutting the picture in half.
- Landmarks: place a tower or temple on a vertical line and leave open space on the other side.
- Portraits: put the face near an intersection, then let the setting fill the rest.
Treat it as a guide, not a law. TechRadar notes there are “all sorts of theories about the ‘Rule of Thirds’ and more complex ‘Golden Mean’”, so if a centered shot feels right, such as a symmetrical doorway, trust your eye.
Lead the eye with lines
According to Unsplash, leading lines are “lines within the frame that draw the viewer’s eye towards the main subject or point of interest.” Travel is full of them: streets, railway tracks, rivers, piers, staircases, market stalls and rows of lanterns.
To use them well, follow these steps:
- Spot a line before you raise the camera, such as a road or a wall edge.
- Move until the line starts near the bottom or a corner of the frame.
- Check that it ends at something worth looking at, like a person, a building or a mountain.
- Take a second shot from a lower or higher position and compare them.
Lines don’t have to be straight. A winding path or a curving shoreline pulls the eye gently through the picture and gives a flat scene a sense of depth.
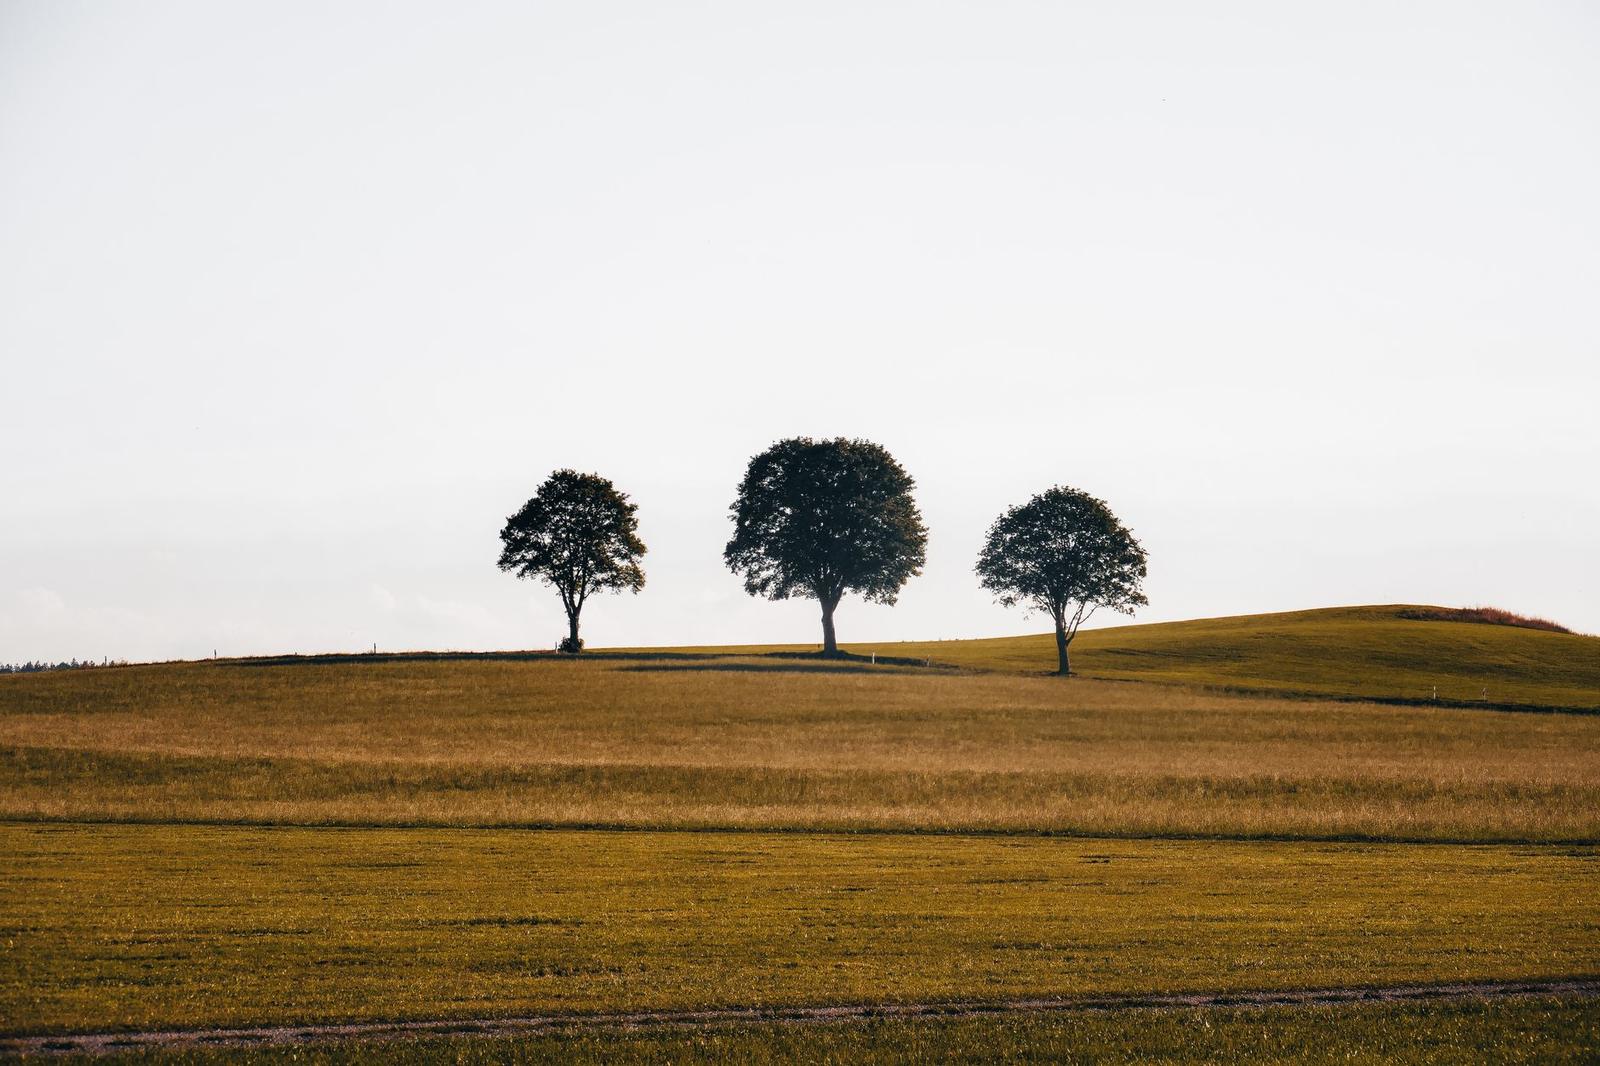
Frame your subject with the scene itself
Unsplash describes framing as “using elements within the photograph to create a frame around the main subject or point of interest.” On the road, natural frames are everywhere: archways, doorways, windows, tree branches, market awnings and gaps between buildings.
A frame adds layers. The foreground gives context, the subject gets attention, and the picture feels like a glimpse into a place instead of a flat record of it.
Some practical ways to use frames:
- Stand inside a dark arch and shoot out toward a bright street.
- Use a window or doorway to frame a person at work.
- Shoot through foliage at the edge of the frame to add depth to a landscape.
If you plan to include people in these frames, our guide on how to photograph people while traveling covers approaching and photographing them respectfully.
Simplify the scene and fill the frame
Busy tourist spots are the hardest places to compose. TechRadar’s advice on this: “When you look at a scene with your naked eye, your brain quickly picks out subjects of interest.” The camera does not do that for you, so you have to.
The same guide says to choose your subject, then select a focal length or camera viewpoint that makes it the center of attention in the frame. It also adds that you can’t always keep other objects out of the picture, so “try to keep them in the background or make them part of the story.”
For large scenes, TechRadar recommends that you “zoom in to fill the frame, or get closer to the subject in question.” It explains that zooming flattens the perspective and makes it easier to control what shows in the background, but physically moving closer can give you a more interesting take.
A quick checklist before you press the shutter:
- What is the one thing this photo is about?
- Is anything bright or messy competing with it near the edges?
- Would one step left, right or closer remove a distraction?
Change your viewpoint and use light
Your height and angle change a scene more than any setting does. TechRadar points out that low viewpoints make you tilt the camera upwards, which strengthens diagonals. Crouch, climb a few steps, or hold your phone near the ground and see how the picture shifts.
Look for balancing elements too. TechRadar mentions a lady in the foreground acting as a counterweight in a scene, a reminder that a small figure or object can balance a large empty area.
Light changes how every composition feels, because shadows create their own lines and shapes. Our guide to golden hour travel photography explains how to use the soft light near sunrise and sunset to support the techniques above.
Build a simple routine for each location
You don’t need to apply every idea to every picture. A short routine keeps you moving and helps you avoid the usual snapshot.
- Take your first shot at eye level, the way most people would.
- Pick a technique, such as thirds, a leading line or a frame, and reshoot.
- Change your viewpoint and shoot again.
- Review the results later and keep the version where the subject is clearest.
Over a trip, you’ll notice which techniques you reach for naturally. Lean into those, and use the others when a scene calls for them.
Frequently asked questions
Do I have to follow the rule of thirds?
Show answer
No. The Unsplash guide presents it as a popular principle, not a requirement. A centered subject can work well when the scene is symmetrical or simple.
What is the easiest technique for beginners?
Show answer
Filling the frame is the simplest. TechRadar suggests you zoom in or get closer to the subject, which removes distractions with no extra skill.
Can I use these tips with a phone?
Show answer
Yes. Grids, viewpoint changes, lines and frames need no special equipment. Turn on the grid overlay in your camera settings to apply the thirds.
How do I deal with crowds in a shot?
Show answer
You can’t always keep other objects out of the picture. TechRadar suggests keeping them in the background or making them part of the story.