Worried you’ll miss the best light in a place you may never revisit? Golden hour travel photography comes down to planning: know when the low sun arrives, scout early, and be set up before it does.
This guide is part of our wider travel photography tips collection.
| Item | Value |
|---|---|
| Golden hour length, near the equator | About 30 minutes |
| Golden hour length, high latitudes in summer | Almost 90 minutes |
| Typical mid-latitude morning golden hour | About 40-60 minutes |
| Sun altitude where golden hour ends or begins | 6° above the horizon |
| Suggested setup time before sunset | At least 20 minutes |
Figures come from ConvertTime’s golden hour guide. Definitions differ between sources and the numbers can change with place and season, so check the source before you rely on them.
What golden hour actually is
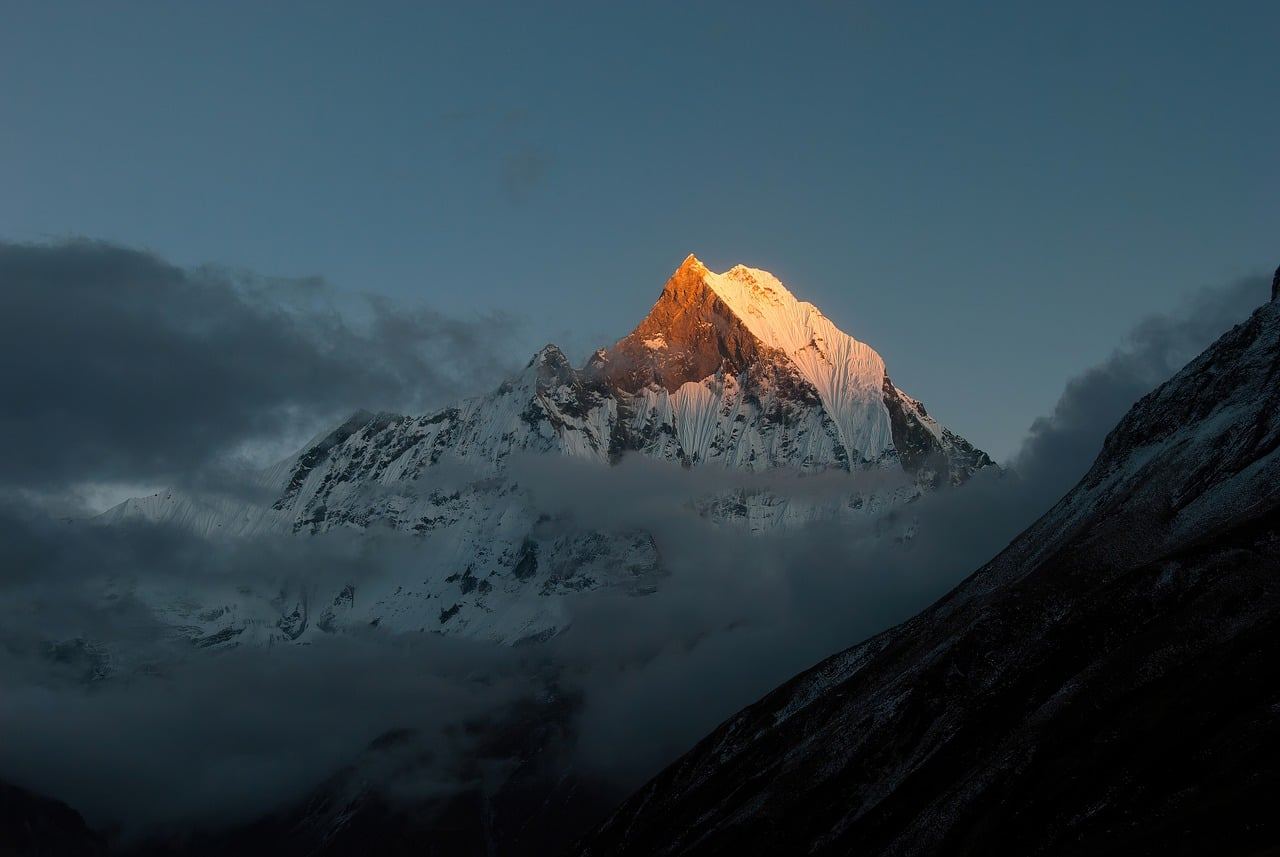
Golden hour is the stretch of the day when the sun sits low, so its light travels through more atmosphere and turns warm, soft and directional. There is no single official definition, but a common one ties it to the sun’s height in the sky.
By that convention, the evening golden hour starts when the sun reaches 6° altitude on the way down and ends at sunset. The morning version runs from sunrise until the sun climbs to the same height, according to ConvertTime.
Some photographers stretch the idea to include the minutes just after sunset. Whichever convention a website or app uses, keep to it when you compare times from different sources.
How long you really have
The length of the window changes with where you are and the season. ConvertTime says it ranges from about 30 minutes near the equator to almost 90 minutes at high latitudes in summer.
For typical mid-latitudes, the same guide puts the morning golden hour at about 40-60 minutes. That is a useful reminder for a trip: a tropical beach gives you a shorter, faster show than a northern city in June.
Weather matters as well. Thick cloud on the horizon can mute the colour, while a gap of clear sky right at the horizon can make a plain evening spectacular.
Why the light works so well
Golden light is kind to travellers for practical reasons. DailyPhotoTips notes that “the reduced intensity compared to midday means less squinting subjects and easier metering.”
The same source says low sun “creates elongated shadows that add drama, depth, and graphic interest.” That is what gives streets, dunes, temples and rice terraces their sense of shape.
Here is what you get in the frame:
- Warm colour on stone, skin and foliage.
- Long shadows that reveal texture in walls, sand and water.
- Softer contrast, so highlights and shadows are easier to hold in one exposure.
- The option of glowing backlight when you shoot toward the sun.
Planning golden hour before you land
Treat the light like a timetable. Look up sunrise and sunset times for each day, then work backwards to your arrival time at each spot.
- Pick two or three places per trip that suit warm side light or backlight, such as a viewpoint, a waterfront or a textured old street.
- Check which direction each one faces, so you know whether the sun will hit the front of your subject.
- Scout it in daylight if you can, and note where you will stand.
- Plan to be set up at least 20 minutes before sunset, as ConvertTime advises.
- Build in travel time and a backup spot, because the window is short.
Pack light enough that you can actually get there. Our notes on how to pack camera gear for travel cover what is worth carrying for a sunrise or sunset outing.
Shooting tips for the best result
Start with the sky and the subject together. If the sun is behind you, faces and buildings glow; if it is in front of you, you get silhouettes, rim light and flare.
Try both on the same evening, because the light changes quickly. The best moment is often a few minutes after you thought it was over.
- Check your exposure after each change in light, and use the histogram rather than the screen’s brightness.
- Expose for the highlights when shooting toward the sun, then lift shadows later.
- Shoot in RAW if your camera allows it, so you can adjust white balance afterward.
- Avoid auto white balance if it cools the scene down, because you lose the warmth you came for.
- Use a tripod or a steady surface once the light falls.
Strong subjects still need good framing. Pair these tips with the ideas in travel photography composition tips to place a foreground, a subject and a sky in one frame.
Staying for blue hour
When the sun drops below the horizon, don’t pack up straight away. The sky often turns deep blue shortly after sunset or before sunrise, a stage known as blue hour.
According to Digital Photography School, “it is during twilight (typically during nautical twilight) that a phenomena called the blue hour occurs.” The same page says “this is when you will often see a blue tinge to the sky.”
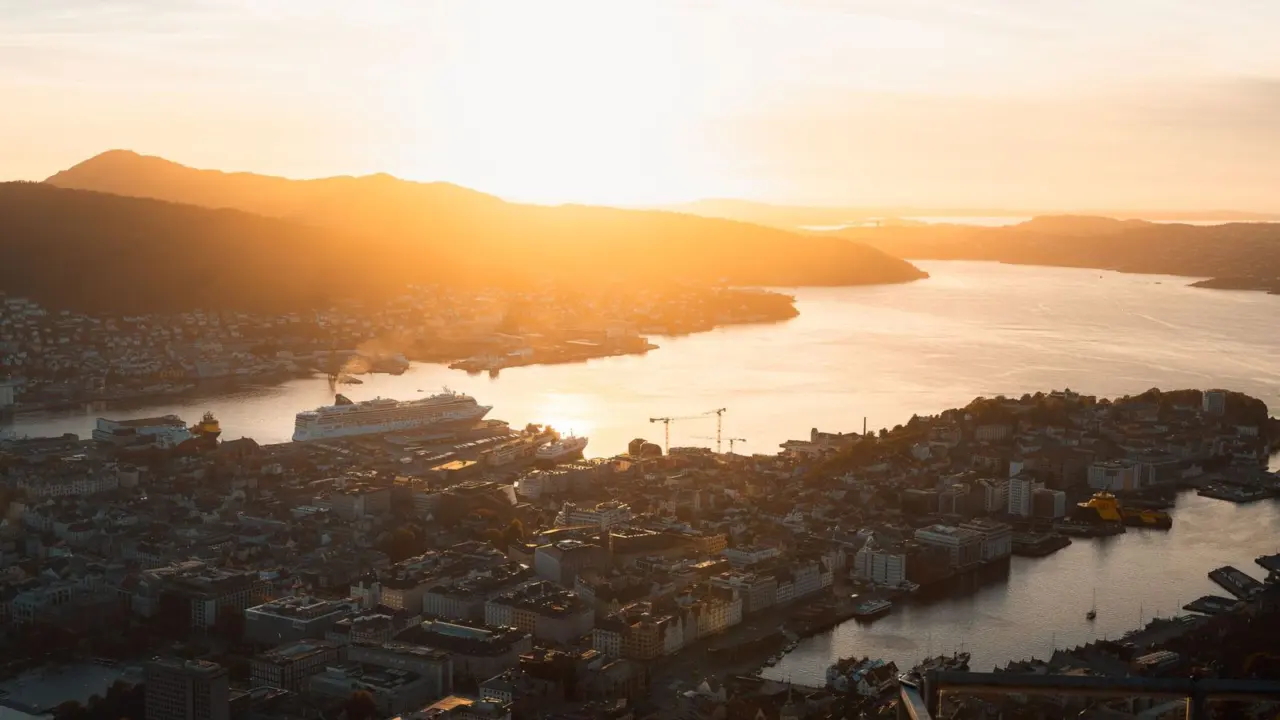
City lights come on during this time, which makes it a good window for harbours, bridges and old towns. Keep a tripod handy, since the exposures get longer.
Making it work with people and places
Golden hour is a good time for portraits of your travel companions. Ask them to face the sun for an even glow, or turn them away from it for a soft rim of light around hair and shoulders.
In busy places, the early morning window has a second advantage: fewer visitors. Famous viewpoints, markets and plazas are often calmer at sunrise than at sunset, so you can take your time with the composition.
Be respectful too. In places of worship or residential streets, ask before photographing people, and keep your tripod out of walkways.
If the schedule is tight, choose one sunrise and one sunset per destination rather than trying for every day. Rest matters, and a relaxed photographer notices more than a tired one.
Common mistakes on the road
- Arriving at sunset itself, when the best light has already been going for a while.
- Staying in one spot instead of moving as the light shifts.
- Forgetting that mountains or buildings can block the low sun early, so the light fades sooner than the listed time.
- Chasing only the sun and ignoring the other side of the sky, where soft pink light often lands on clouds or walls.
- Running low on battery or memory just as the light improves.
Frequently asked questions
How long does golden hour last when travelling?
Show answer
It varies with latitude and season. ConvertTime gives about 30 minutes near the equator and almost 90 minutes at high latitudes in summer.
Is golden hour the same as blue hour?
Show answer
No. Golden hour is the warm light while the sun is low. Blue hour is the cooler twilight after sunset or before sunrise.
Do I need a tripod?
Show answer
Not always during the golden light itself, since it is fairly bright. For blue hour, a tripod or steady surface helps with longer exposures.
What if the weather is cloudy?
Show answer
You may lose the strong warm colour, but the light can still be soft. Watch the horizon, because a gap in cloud can light up the scene briefly.