Packing light but still want great trip photos? The best mobile photography apps for travelers cover four jobs: shooting, editing, backup and sharing. Pick one solid app for each, and skip the rest.
| Item | Value |
|---|---|
| Google Account storage (shared by Gmail, Drive, Photos) | Up to 15 GB |
| New Google Accounts from March 9, 2026 | 5 GB, plus an optional extra 10 GB after phone verification |
| Free iCloud storage when you set up iCloud | 5 GB |
| Google Photos trash retention | 30 days before permanent deletion |
| Google Photos inactivity limit | 2 years or more of no use can lead to deletion |
| Snapseed tools and filters | 30+, with no subscriptions, purchases, ads or watermarks |
Figures come from Google Photos Help and Apple Support, both read in November 2026. Storage rules and app features change, so check the source before you rely on them.
What mobile photography apps do for travelers
Your phone already has a good camera. What it lacks on a long trip is a workflow: a way to shoot reliably, tidy the results, keep them safe and share the best ones without drowning in files.
That is where apps earn their place, and it is also where people overspend. A folder of many half-used apps slows you down more than any missing feature.
Think of your toolkit as four layers:
- Capture: the stock camera app or a more manual alternative.
- Edit: one app for quick fixes, and optionally a second for finer control.
- Store: automatic cloud backup, so a lost phone does not mean lost memories.
- Share and print: albums, links and, later, a photo book.
Each layer has its own trade-offs, covered below. If you want the gear and technique side first, our guide to phone photography while traveling covers how to hold, frame and protect the phone itself.
A useful rule: choose apps before you leave. Learning a new editor on a train platform, with a low battery and patchy signal, is a recipe for frustration.
Camera apps: when the stock camera is enough
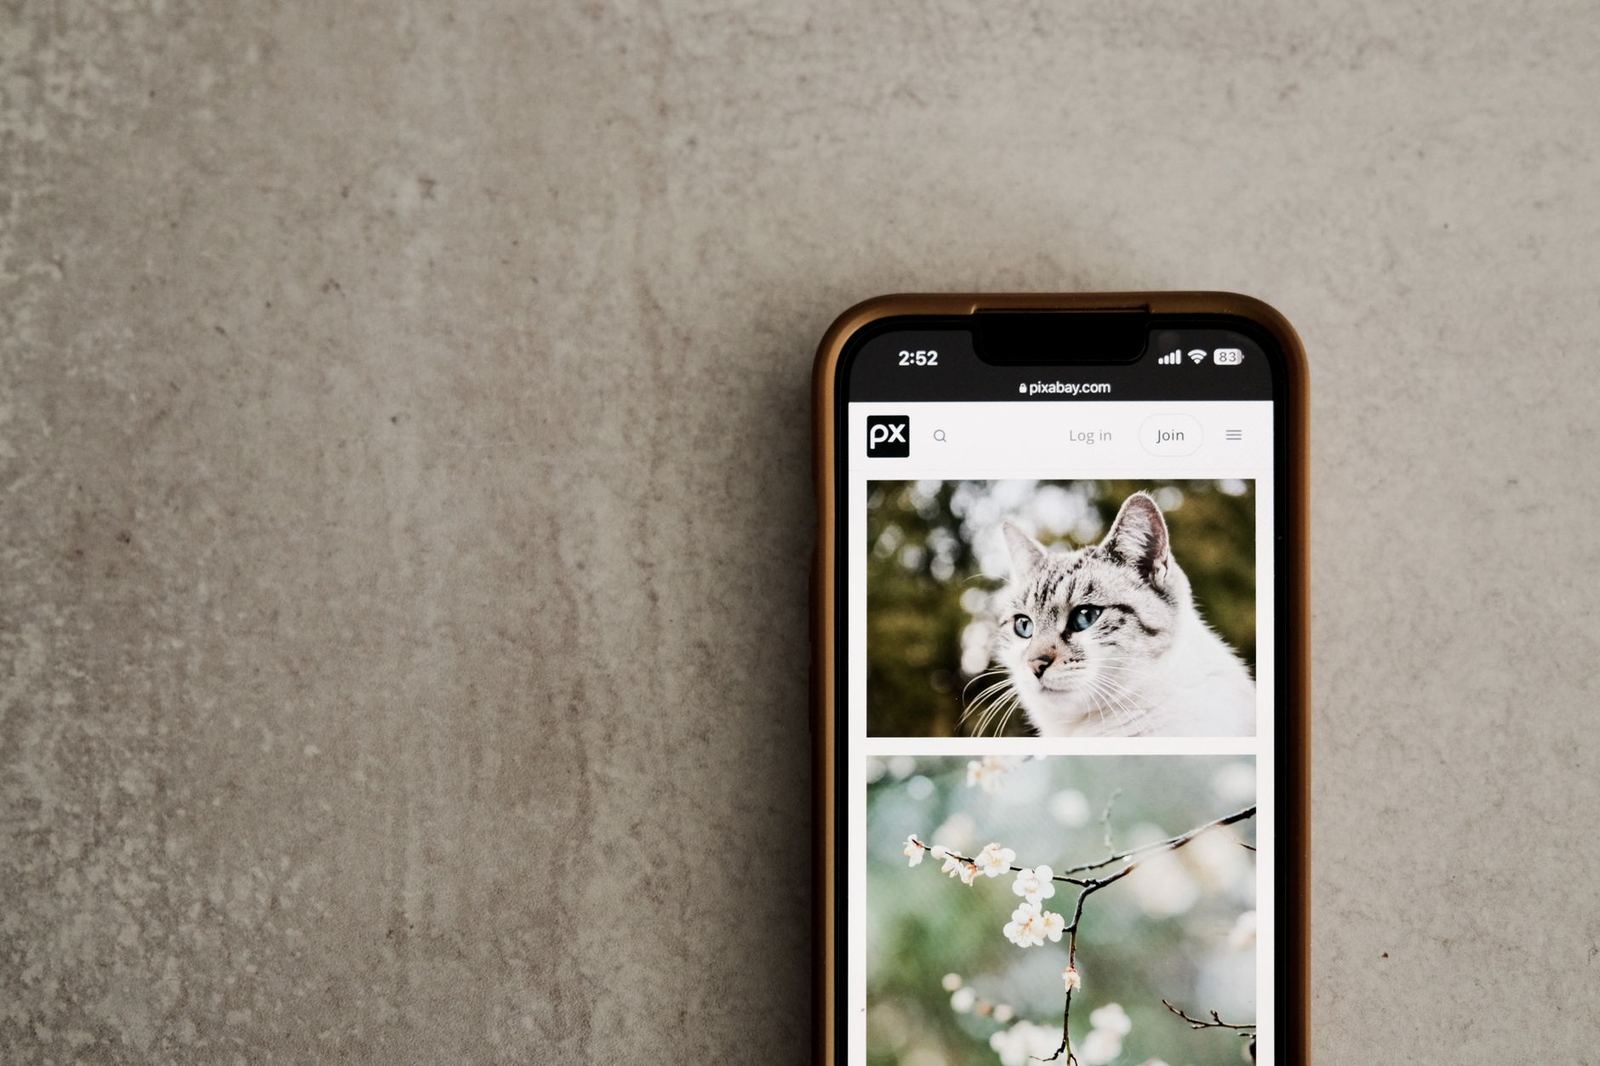
For most travelers, the camera app that came with the phone is the right starting point. It launches fast, handles exposure well and is tuned to your hardware.
Third-party camera apps are worth considering when you want something the stock app hides. Typical reasons include:
- Manual control over shutter speed, ISO and focus for night scenes.
- Shooting in a raw format to keep more editing latitude.
- Grid, level and histogram overlays to help with straight horizons.
- Film-style looks applied as you shoot rather than afterwards.
Android phones vary widely between brands, so the right choice depends on your model. We compare options in best camera apps for android travel.
Snapseed is mainly an editor, but its App Store listing also describes a Snapseed Camera that lets you shoot directly in film simulations or custom looks. That can suit travelers who like a consistent style across a trip.
Habits that matter more than the app
No app fixes a smudged lens. Wipe it before every important shot, especially after the phone has been in a pocket or bag.
Tap your subject to set focus and exposure, then adjust brightness before you shoot. In busy places, take a few frames of each scene so you can choose the best one later.
Crowded sights ask for patience and a plan. Our notes on photographing landmarks and tourist sites cover timing, angles and etiquette, and the wider travel photography tips hub covers composition and light.
Raw or not?
Raw files keep more detail in highlights and shadows, which helps with bright skies and dim interiors. They are also much larger, which matters when you are watching your storage.
A sensible compromise is to shoot normally most of the time and switch to raw for scenes you really care about, such as sunrise at a famous viewpoint. Check that your editor can open raw files before you commit.
Editing apps: from quick fixes to full control
Editing is where mobile photography apps differ most. Some are one-tap filter tools, some are close to desktop editors, and some are subscription services.
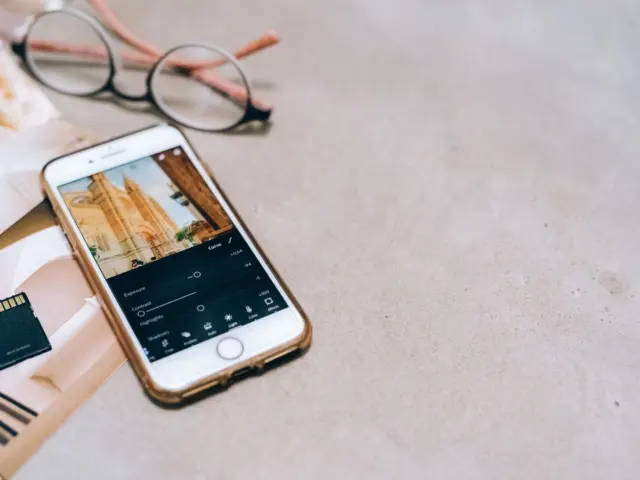
Snapseed is a common free choice. Its App Store listing describes 30+ pro tools and filters with “no subscriptions, purchases, ads, or watermarks”, plus non-destructive editing and support to “open and edit JPG and RAW files”.
That listing also mentions smart masking, healing and film-style filters. Features and prices can change, so read the current listing for your platform before relying on any detail.
For a deeper comparison, see our guides to travel photo editing apps and the best free photo editing app for travel. If you use an iPhone, how to edit travel photos on iphone walks through the built-in tools first.
A simple editing order
Editing in a fixed order saves time and keeps a trip looking consistent. Try this sequence:
- Crop and straighten, so the horizon is level.
- Fix exposure, then recover highlights and lift shadows.
- Adjust white balance so skies, skin and stone look natural.
- Add contrast or clarity gently.
- Apply any local fixes, such as removing a stray bin or tourist.
- Export once, at the quality you need for sharing.
Most travel photos need only the first three steps. Heavy filters date quickly and can make different places look the same.
Presets and consistency
If you like a signature look, save your edit settings as a preset or a reusable look and apply it to a batch. That is much faster than editing a whole trip’s photos one by one.
Do the batch edit on a train, flight or in a quiet café, not at the sight itself. Your attention belongs to the place while you are there.
Backup and storage: the layer people skip
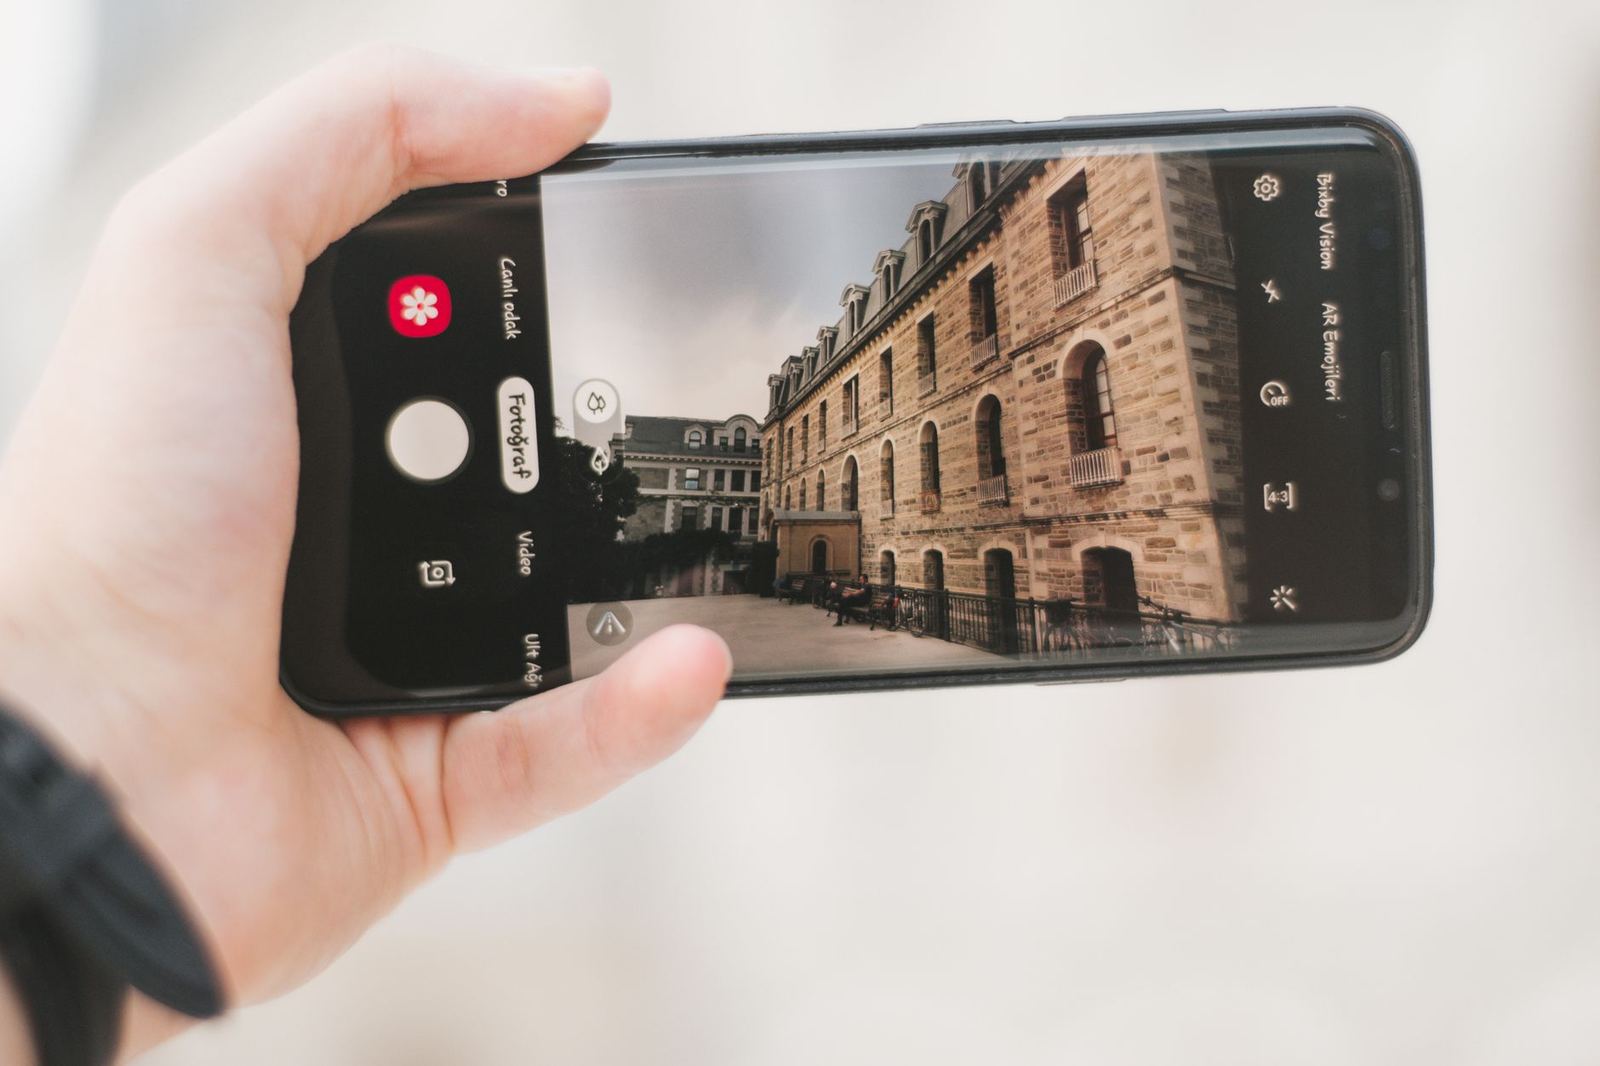
A phone can be dropped, stolen or soaked. Automatic cloud backup is the single most protective habit you can add, and it costs little effort once set up.
The two big built-in options are Google Photos and iCloud Photos. Both share their free space with other services, so the free tier fills quickly on a trip.
Google Photos
Google’s help page says each Google Account comes with up to 15 GB of storage shared across Gmail, Google Drive and Google Photos. The same page adds that, starting on March 9, 2026, new Google Accounts get 5 GB, with an optional extra 10 GB after verifying a valid phone number.
Two rules on that page are worth knowing. Deleted photos stay in the trash for 30 days before permanent deletion, and if you do not use Google Photos for 2 years or more, your photos and videos might be deleted.
Google says it will contact you at least 3 months before that happens. A paid Google One membership in good standing avoids the inactivity deletion, according to the same page.
iCloud Photos
Apple Support states that when you set up iCloud, you automatically get 5 GB of storage for free. That space covers iCloud backups, iCloud Photos, iCloud Drive and more.
If you run out, Apple says your device will not back up to iCloud and new photos and videos will not upload to iCloud Photos. On a trip, that is exactly when you do not want backup to stop.
What to do before you leave
- Check how much storage is free and how much your photo library already uses.
- Clear duplicates, screenshots and old videos while you are on home Wi-Fi.
- Decide whether to upgrade your plan for the trip, and for how long.
- Test that backup works on hotel Wi-Fi, and set it to avoid mobile data if roaming is costly.
- Keep an eye on the backup status each evening.
We compare providers, prices and settings in cloud storage for travel photos. For workflows that include a laptop, an external drive or shared albums, read sharing and backing up travel photos.
A backup is not a second copy unless it is separate
Cloud sync mirrors changes, so an accidental deletion can spread to every device. Apple notes that deleting from the Photos app removes items from iCloud Photos across devices signed in to the same account.
For important trips, consider one extra copy somewhere else, such as a drive at home or a second cloud account. Keep it simple enough that you will actually do it.
Sharing, albums and photo books
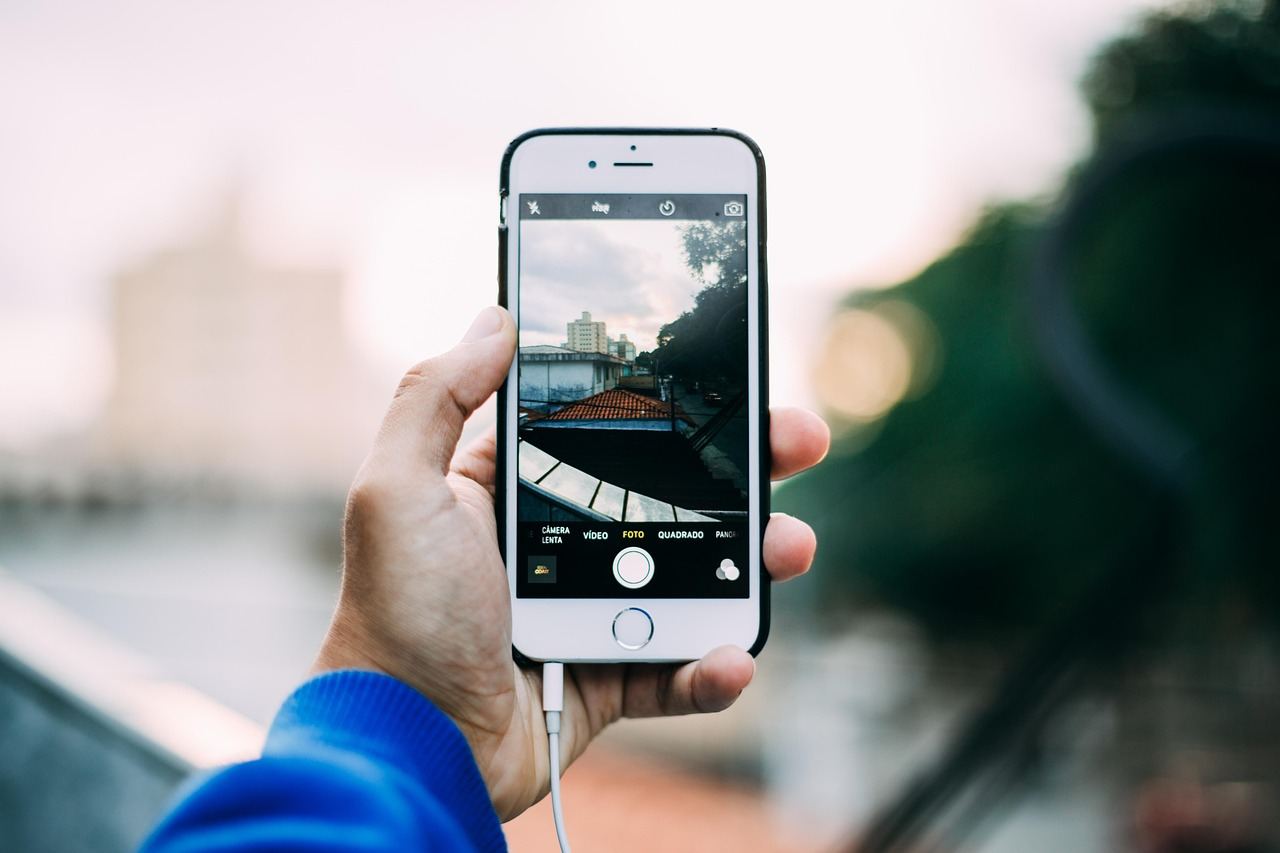
Sharing during a trip should be quick and low-stress. A shared album or link lets friends and family see the highlights without you sending a flood of messages.
Before posting, think about privacy. Photos can carry location data, and a live post showing your hotel while you are away is rarely a good idea.
Useful sharing habits include:
- Post a small selection, not the whole day.
- Share to a private album when travelling with a group, so everyone can add their own shots.
- Check who can see a link before sending it.
- Save full-quality originals separately from the compressed versions you share.
Turning photos into something physical
Most trip photos are never looked at again. A printed book changes that, and it forces you to pick your best images.
Google’s help page lists making an album or a photo book among the ways to use Google Photos. For a wider comparison of apps, layouts and print options, see travel photo book apps.
Build the book in stages. Start the album during the trip, trim it on the journey home, and order while the memories are fresh.
Travel conditions and building your kit
An app that is perfect at home can be a poor fit on the road. Connectivity, battery and storage all behave differently when you are moving between places.
Offline use
Signal can disappear on a mountain trail, a long train ride or a flight. Before you leave, open each app once while online so it finishes any set-up, downloads and sign-ins.
Editing apps that run on the phone itself keep working without a connection. Cloud-based tools do not, so keep a local editor installed as a fallback.
Battery and heat
Shooting, editing and uploading are all demanding. Heat in direct sun makes it worse, and a hot phone may dim its screen or slow down.
Practical ways to cut the drain:
- Lower screen brightness while you edit, and edit indoors where you can.
- Pause cloud backup until you reach Wi-Fi and a charger, if your plan allows it.
- Close camera apps you are not using rather than leaving them open in the background.
- Carry a small power bank and a short cable in your daypack.
Data costs and roaming
Uploading full-quality photos over a roaming connection can be slow and expensive. Most backup apps let you limit uploads to Wi-Fi, and that setting is worth checking before you board.
When you have to use mobile data, share small versions of a few photos and leave the full backup for later. Your originals stay on the phone and upload when conditions improve.
Storage on the phone itself
Raw photos, burst shots and video fill a phone quickly. Check free space each evening, and do not delete anything from the phone until you have confirmed that backup finished.
Google’s help page makes the same point indirectly by describing backed-up photos as stored in your account’s cloud space. Treat the cloud copy as the one you trust only after you have seen it appear there.
Common mistakes with mobile photography apps
Most problems come from a handful of habits. Fixing them costs nothing and improves your results more than any new download.
- Installing too much. Every extra app is another thing to learn, update and trust with your photos.
- Heavy filters. Strong presets can crush skies and skin tones, and they look dated quickly.
- Skipping backup. People assume the phone is safe until it is not.
- Ignoring free-tier limits. A shared quota fills with email and files too, not only photos.
- Editing the original. Prefer non-destructive tools that let you revert, or keep an untouched copy.
- Learning on the day. Try new apps at home on practice shots first.
How to test an app quickly
Give a new app a fair test with a short, realistic trial. Use it on a handful of photos from your last trip, and see whether it feels fast and whether the result matches what you wanted.
If you are still fumbling after a short session, it is probably not the right tool. Go back to what you already know.
Matching apps to the kind of traveler you are
A weekend city visitor needs a fast stock camera, one simple editor and automatic backup. That is enough, and it leaves more time to enjoy the place.
A longer trip or a trip with lots of scenery rewards more planning. You may want raw capture, a batch-friendly editor, a second backup and a plan for a photo book afterwards.
A family or group trip leans on shared albums. Agree in advance who adds photos, and how you will all get a copy at the end.
Building your own small app kit
You do not need every app in this guide. A tidy kit beats a crowded home screen, especially when you are tired and the light is fading.
Here is a practical way to choose:
- Start with the stock camera and learn its exposure and focus controls.
- Add one free editor and learn it well before you travel.
- Switch on automatic backup and confirm that you have enough space.
- Choose one place for albums and sharing.
- Decide on a photo book app only after the trip, once you know which pictures matter.
Checks before you rely on any app
Look at the permissions an app asks for, and the price after any trial. Be wary of anything that asks for more access than its job needs.
Check whether it works offline, since signal can be weak in remote places. Also check how it exports, because some apps lower image quality unless you choose the setting yourself.
Finally, keep your phone updated and your battery charged. A power bank is more useful than another app.
This site is independent and educational. It is not connected to any app maker or service named here, and app features, prices and storage rules can change without notice.
Frequently asked questions
Do I need a third-party camera app for travel photos?
Show answer
Usually not. The stock camera is fast and reliable, and a third-party app mainly helps if you want manual control or raw capture.
Is there a free app that edits raw files?
Show answer
Snapseed’s App Store listing says you can open and edit JPG and RAW files, and describes the app as having no subscriptions, purchases, ads or watermarks. Check the current listing for your device, since features can change.
How much free cloud storage do I get?
Show answer
Apple Support says iCloud gives you 5 GB for free. Google’s help page says accounts get up to 15 GB shared across Gmail, Drive and Photos, but new accounts from March 9, 2026 get 5 GB, with an optional extra 10 GB after phone verification.
What happens if my cloud storage fills up while I travel?
Show answer
With iCloud, Apple says new photos and videos stop uploading to iCloud Photos and your device will not back up. Clear space or upgrade before you leave, and check backup status regularly.
Are deleted Google Photos gone straight away?
Show answer
No. Google’s help page says deleted photos and videos stay in the trash for 30 days before they are permanently deleted.