Packing light and tired of subscriptions? The best free photo editing app for travel is Snapseed: 30+ tools, no ads, no watermarks, and RAW support. Google Photos handles quick fixes.
This guide sits inside our wider look at mobile photography apps.
| Item | Value |
|---|---|
| Snapseed tools and filters | 30+ pro tools and filters |
| Snapseed costs | No subscriptions, purchases, ads, or watermarks |
| Snapseed file support | JPG and RAW files |
| Snapseed editing style | Non-destructive: revert to the original at any time |
| Google Photos editing | Done in the Google Photos app on your phone |
| Google Photos edit syncing | Edits sync when backup is turned on |
Figures come from the Snapseed App Store listing and Google Photos Help. Apps change often, so check those pages before you rely on them.
What the best free photo editing app for travel must do
On the road, an editing app has to be quick, work offline and not fight you for money. A tool that looks generous but puts the best features behind a paywall is a poor fit for a trip.
Use this checklist when you compare options:
- Does it run without a signal on a plane, train or remote trail?
- Can it open RAW files if your phone or camera shoots them?
- Does it fix the usual travel problems: tilted horizons, hazy skies, harsh midday light and distracting strangers?
- Are edits reversible, so a rushed change on a bus can be undone later?
- Does it export without watermarks?
Those five questions matter more than any ranking. A short list of apps that pass them will serve you better than a long list of apps you never open.
Snapseed: the strongest all-round free pick
Snapseed is made by Google, and its App Store listing promises no strings attached. The listing says you get 30+ pro tools and filters with no subscriptions, purchases, ads, or watermarks.
That answers the money question. You can build a full editing routine around it without ever meeting an upgrade prompt, at least as the listing describes it today.
Tools that suit travel shots
The listing names several tools that map neatly onto travel problems:
- Smart masking isolates subjects or backgrounds with a single tap, handy for brightening a monument without blowing out the sky.
- Film looks add grain, bloom and halation if you like a vintage feel.
- Selective adjust, healing and curves are the tools one App Store reviewer singles out as professional-grade.
Not all of these will suit every shot. Start with brightness and contrast, then add one stylistic touch at most.
RAW and non-destructive editing
Snapseed opens JPG and RAW files, according to its listing. If your phone offers a RAW mode, you keep more detail in bright skies and dark interiors, which gives the edit more room.
The listing also says edits are non-destructive, so you can undo changes or revert to the original photo at any time. That is a real comfort when you are editing tired at the end of a long day.
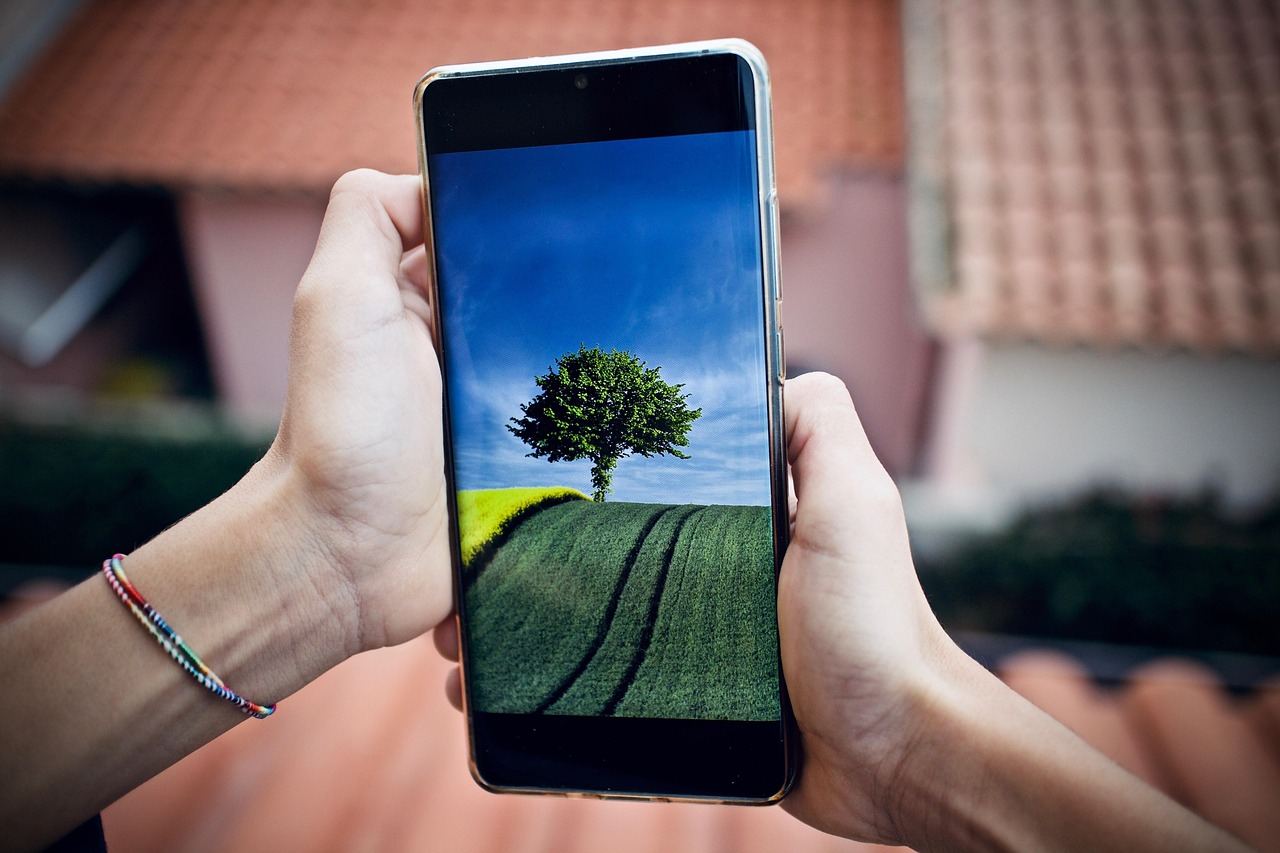
Google Photos: quick fixes where your pictures already live
Google’s help page says you can add filters, crop photos, and more on your mobile device or computer. To edit on your phone, you use the Google Photos app.
The useful travel detail is syncing. Google notes that if you have backup turned on, your edits will sync to your Google Photos account, so a crop made on the train appears on your laptop later.
There is one catch. Google also says some editing features are not available on the web, and recommends the Android or iOS app if you cannot find a tool there.
For anything beyond a crop, a filter and a lighting tweak, Snapseed gives you finer control. Many travellers use Google Photos for speed and Snapseed for the pictures they care about.
How to choose between them
Match the app to the job rather than hunting for a single winner. A simple rule of thumb:
- Pick Snapseed when a photo deserves care: selective changes, healing or a film look.
- Pick Google Photos when you want a crop and a brighter exposure in under a minute.
- Look at paid or partly paid apps only if you have a specific need that neither covers, and read the current price before installing.
Your own habits count as much as the app. If you rarely edit, a simple tool you open every evening beats a powerful one you avoid, and a free app that feels fiddly will end up unused by the second day of a trip.
Be careful with apps labelled free that include in-app purchases. Check the store listing for subscriptions and watermarks before you invest time in an edit.
Common travel edits and how to approach them
Most holiday pictures suffer from the same few problems. Knowing the fix in advance saves you from fiddling with every slider.
- Harsh midday sun: lift shadows a little and pull highlights down, rather than adding contrast, which makes the glare worse.
- Dull skies: use a selective adjustment on the sky only, so the buildings or landscape below keep their natural tones.
- Warm or cool colour casts: artificial lighting in hotels, markets and restaurants often tints skin. Nudge the warmth until whites look white again.
- Crowds and clutter: crop tighter first. Only reach for healing if a small distraction remains.
- Low-light street scenes: brighten gently and accept a little grain. Heavy brightening on a noisy file looks worse than a moody, darker frame.
Whatever you change, make small moves. Over-edited travel photos tend to look alike, while a light touch keeps the place recognisable and honest.
Keep the original and the memory
Save an edited copy and leave the original untouched wherever you can. Colour and light that look perfect on a small phone screen can seem heavy on a laptop later, and an untouched file lets you start again.
It also helps to edit a few favourites properly rather than every frame. A handful of polished pictures from each day makes a better album than a camera roll of rushed edits.
A simple workflow for a travel day
Edit in two passes. The first is a quick sort while you wait for dinner; the second is a calmer session when you have power and time.
- Delete obvious duplicates and blurred frames first.
- Straighten horizons and crop for the shot you meant to take.
- Adjust exposure and contrast on your favourites.
- Use healing for small distractions only.
- Keep one consistent look across the trip, so the album feels cohesive.
Once edited, think about where the files live. Our notes on sharing and backing up travel photos cover that step, and if you shoot on Apple hardware, how to edit travel photos on iphone goes deeper on the built-in tools.
Frequently asked questions
Is Snapseed really free?
Show answer
Its App Store listing says it has no subscriptions, purchases, ads, or watermarks. Check the listing for any change before you install.
Can I edit RAW photos for free?
Show answer
Snapseed’s listing says you can open and edit JPG and RAW files. Whether your phone can shoot RAW depends on the device and camera app.
Will my Google Photos edits appear on my other devices?
Show answer
Google’s help page says edits sync to your Google Photos account if backup is turned on.
Can I undo an edit later?
Show answer
In Snapseed, yes: the listing describes non-destructive editing, so you can revert to your original photo at any time.