Not sure how to edit travel photos on iPhone without wrecking them? Open the built-in Photos app, fix light first, then colour, then crop. Small, gentle moves beat heavy filters.
| Item | Value |
|---|---|
| Tool used | Photos app, built into iPhone |
| Light controls | Exposure, Brilliance, Highlights, Shadows |
| Straighten controls | Straighten, Vertical, Horizontal |
| Example filters | Vivid, Dramatic, Silvertone |
| Undo unsaved edits | Cancel, then Discard Changes |
| Undo saved edits | Revert to the original image |
These come from Apple’s iPhone User Guide. Menus and names change between iOS versions, so check the source before you rely on them.
This guide is part of our look at mobile photography apps, and it covers only the free editor already on your phone.
Start with the Photos app editor
You do not need to download anything to improve a holiday shot. Apple says that after you take a photo, you can use the tools in Photos to edit it, and that “You can adjust the light and color, crop, rotate, add a filter, and more.”
Open the photo in full screen, then tap Edit. A row of tools appears under the picture, and you swipe along it to reach each control.
Editing in Photos is not destructive while you work. If you dislike the result, tap Cancel and the photo goes back to how it was.
Take a moment to look at the photo before touching a slider. Ask what drew you to the scene: the light on a street, the colour of a market, or the feeling of space in a valley. Every edit should serve that one thing.
Before you start, pick the right picture. Edits can rescue a slightly dark sunset or a tilted skyline, but they cannot fix a blurry frame or a subject that is cut off.
A simple edit order for travel photos
Working in the same order each time keeps your whole trip looking consistent. It also stops you from over-fixing one thing and then fighting it later.
- Straighten and crop to fix the frame.
- Adjust light so the scene is readable.
- Adjust colour so it matches what you remember.
- Add a filter only if it helps, and dial it back.
- Save by tapping Done.
The sections below walk through each step. Skip any step a photo does not need.
Straighten and crop the frame
Horizons and buildings that lean are the most common travel-photo flaw. In the crop tool, Apple lists Straighten, Vertical and Horizontal as the effects you can adjust by swiping under the photo.
Straighten fixes a tilted sea line. Vertical helps when you pointed the phone upward at a tall cathedral or hotel and the walls seem to fall inward. Horizontal helps when you shot a building from the side.
For cropping, Apple’s guide says you can drag the rectangle corners to enclose the area you want to keep, or pinch the photo open or closed. Use it to remove a stray bag strap, a distracting sign or empty sky.
- Leave a little breathing room around your main subject.
- Place the horizon along a third of the frame rather than dead centre.
- Crop last if you plan to post in a specific shape, because tighter crops lose detail.
Fix light, then colour
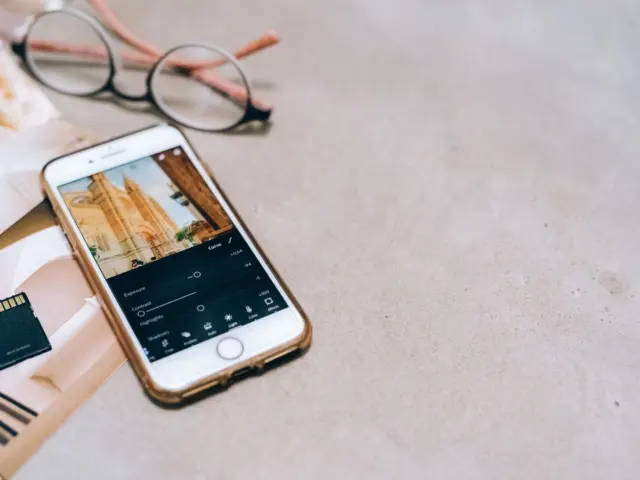
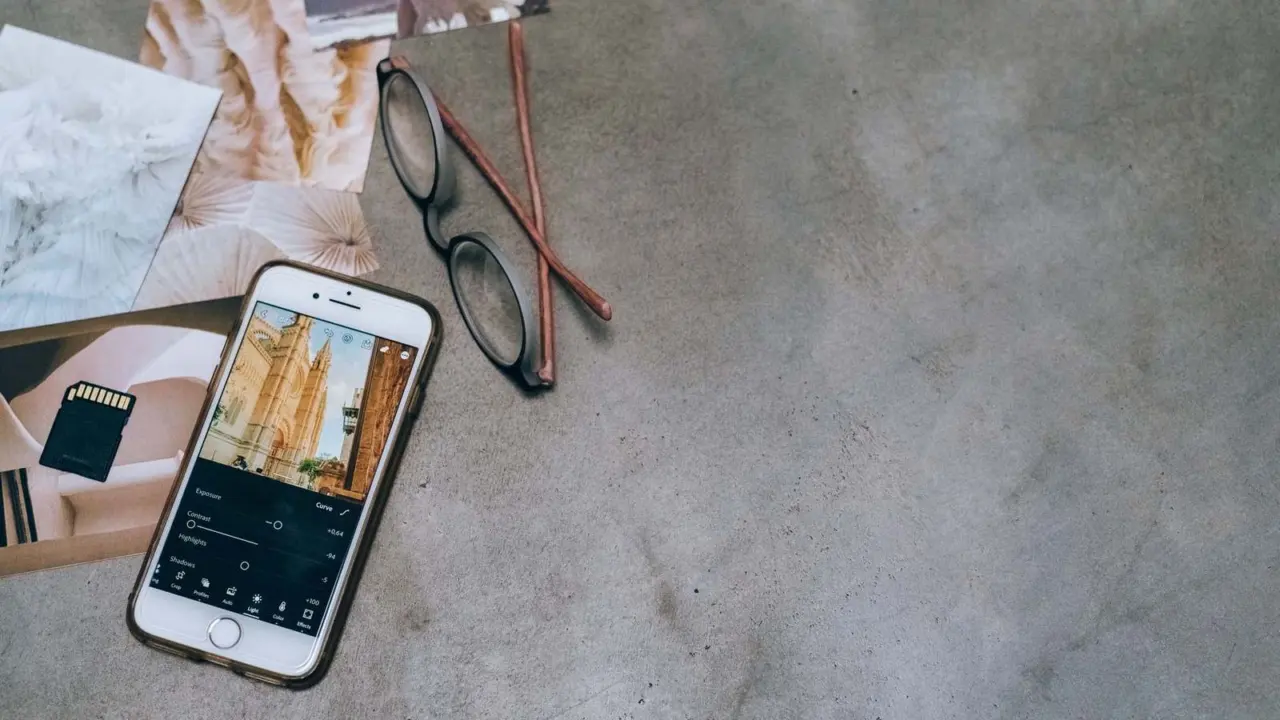
Light does most of the work. Apple’s guide says to tap Edit, then swipe left under the photo to see effects you can edit such as Exposure, Brilliance, Highlights and Shadows.
Here is a practical way to use them on a typical travel scene with bright sky and dark streets:
- Lower Highlights a little to bring back cloud detail in a washed-out sky.
- Raise Shadows to reveal doorways, faces and market stalls in shade.
- Nudge Exposure up or down last, to set overall brightness.
- Use Brilliance to lift muddy midtones without blowing out the sky.
Apple also notes a quick option: tap the Auto button to edit your photo automatically. It is a fine first pass, and you can then fine-tune each slider by hand.
After light, move to colour. Warm up a photo that looks cold and grey, or cool it down if golden-hour light looks too orange. Go slowly: a slider pushed far past the middle usually makes skin and sea look fake.
Different places call for different treatment. Harsh midday sun in a southern city often needs lower highlights and lifted shadows. A grey, drizzly morning in a northern town may need only a little extra brightness and warmth to feel like the day you remember.
Be careful with saturation on travel shots. Turquoise water and red rooftops already pop, so a small boost is enough.
Use filters with a light touch
Filters are quick, but they can flatten the look of a place. Apple says you can tap Edit, then apply filter effects such as Vivid, Dramatic or Silvertone, and then drag the slider to adjust the strength.
Pick one filter look for a whole trip if you like filters at all. Using the same style and strength on every frame gives your photos a tidy, recognisable feel without much effort.
That slider matters. Pulling a filter back to a low setting keeps the mood without hiding the real colours of the destination.
Black-and-white styles such as Silvertone suit street scenes, old towns and portraits with strong shadows. They suit flat, grey-sky landscapes much less.
If you want more control than the built-in tools offer, see our roundup of the best free photo editing app for travel. Android owners can look at the best camera apps for android travel instead.
Save, undo and keep your originals
When you are happy, Apple says to tap Done to save your edits. If you do not like your changes, tap Cancel, then tap Discard Changes.
Saved edits can still be undone later. Apple says that after you edit a photo and save your changes, you can revert to the original image, so your first version is not lost.
That safety net makes it easy to experiment on a trip. You can try a strong look, sleep on it, and return to the untouched photo the next day.
Consistency also matters when you share a set of pictures. If one photo is warm and bright and the next is cold and dark, an album feels messy. Apply similar light and colour choices across the set, so the story of the trip flows from one frame to the next.
It helps to step away between edits. Your eyes adapt quickly to a pushed look, so a photo that seemed perfect late at night can look overdone in the morning. A fresh look often tells you to pull a slider back.
A few habits help on the road:
- Edit on the plane or train, when you have time and no rush.
- Review your best shots on a bigger screen once you are home.
- Edit a small set of favourites rather than every frame.
Frequently asked questions
Do I need a paid app to edit travel photos on iPhone?
Show answer
No. The Photos app already offers light, colour, crop, straighten and filter tools, which cover most holiday photos.
Can I undo an edit after saving?
Show answer
Yes. Apple’s guide says that after you edit and save a photo, you can revert to the original image.
What should I fix first?
Show answer
Fix the frame first by straightening and cropping, then light, then colour. Add a filter last, if at all.
Will my steps match your iPhone screen exactly?
Show answer
Not always. Apple publishes guides for different iOS versions, and tool names or positions can shift between them, so check the guide for your version.