Worried your trip photos will turn into dark, blurry smudges once the sun goes down? Night photography while traveling comes down to three things: a steady tripod, a wide aperture, and a slow, deliberate exposure.
This guide is part of our wider set of travel photography tips.
| Item | Value |
|---|---|
| 500 Rule for star exposures | Divide 500 by your focal length and crop factor |
| Crop-sensor example (50mm lens, 1.6 crop factor) | 6.25 seconds |
| Dark-sky site to aim for | Bortle 1 to 3 |
| Typical city sky | Bortle 6 or worse |
| Beginner Milky Way starting point | ISO 3200 to 6400, 20 to 25 seconds |
These figures come from AstroBackyard’s 500 Rule guide and Photography Talk’s Milky Way guide. They can change, so check the sources before you rely on them.
What you actually need to pack
You don’t need a heavy kit. You need something that holds the camera still for several seconds, and a lens that gathers a lot of light.
- A camera with manual mode, so you control ISO, aperture and shutter speed yourself.
- A wide, fast lens, ideally one with a wide maximum aperture.
- A tripod sturdy enough for long exposures in wind.
- A remote release or the camera’s self-timer, so pressing the shutter doesn’t shake the frame.
- A small headlamp, preferably with a red mode, so you can see your controls.
The Planetary Society’s beginner guide says that a ball-head mount on your tripod is much easier to use in the dark than a standard tripod mount. It also advises a tripod strong enough for windy conditions, which matters on rooftops, bridges and coastlines.
Travel weight is a real limit. A compact travel tripod is better than a heavy one left at the hotel, so test it with your camera before you leave home.
Night photography while traveling in cities
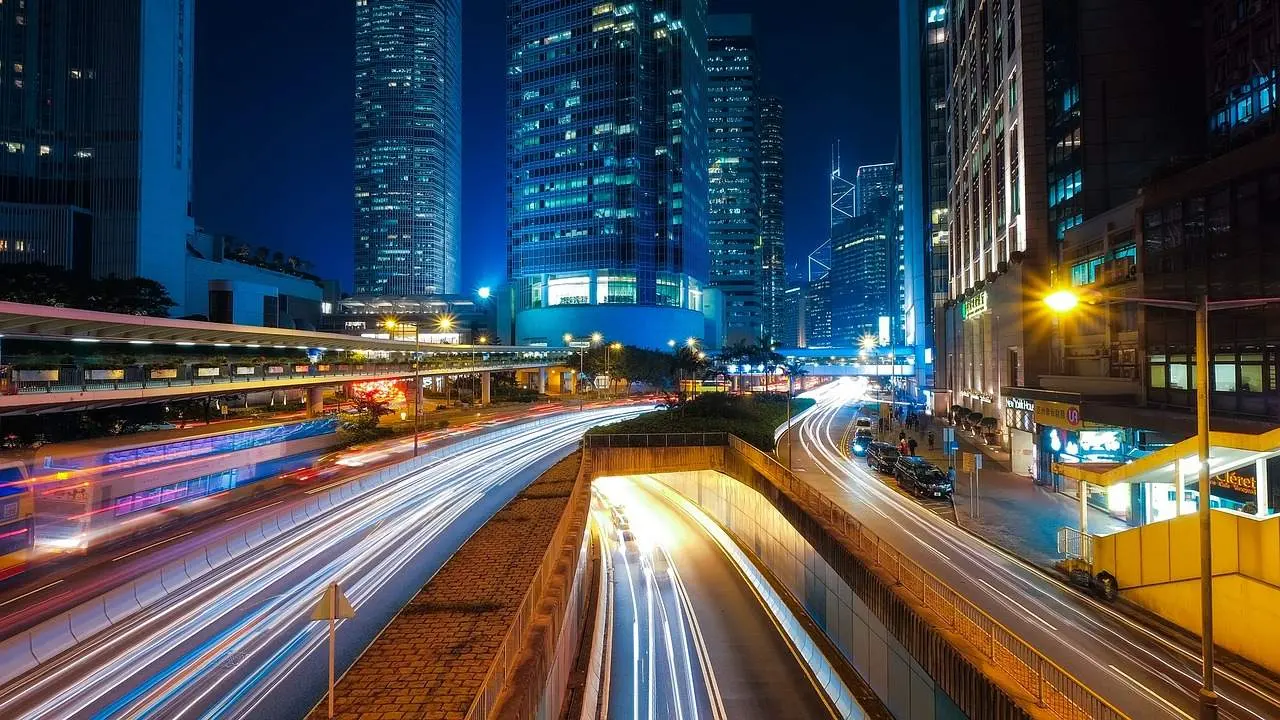
Cities are the easiest place to start, because streetlights, signs and windows give you plenty of light. The challenge is contrast: bright lamps next to deep shadows.
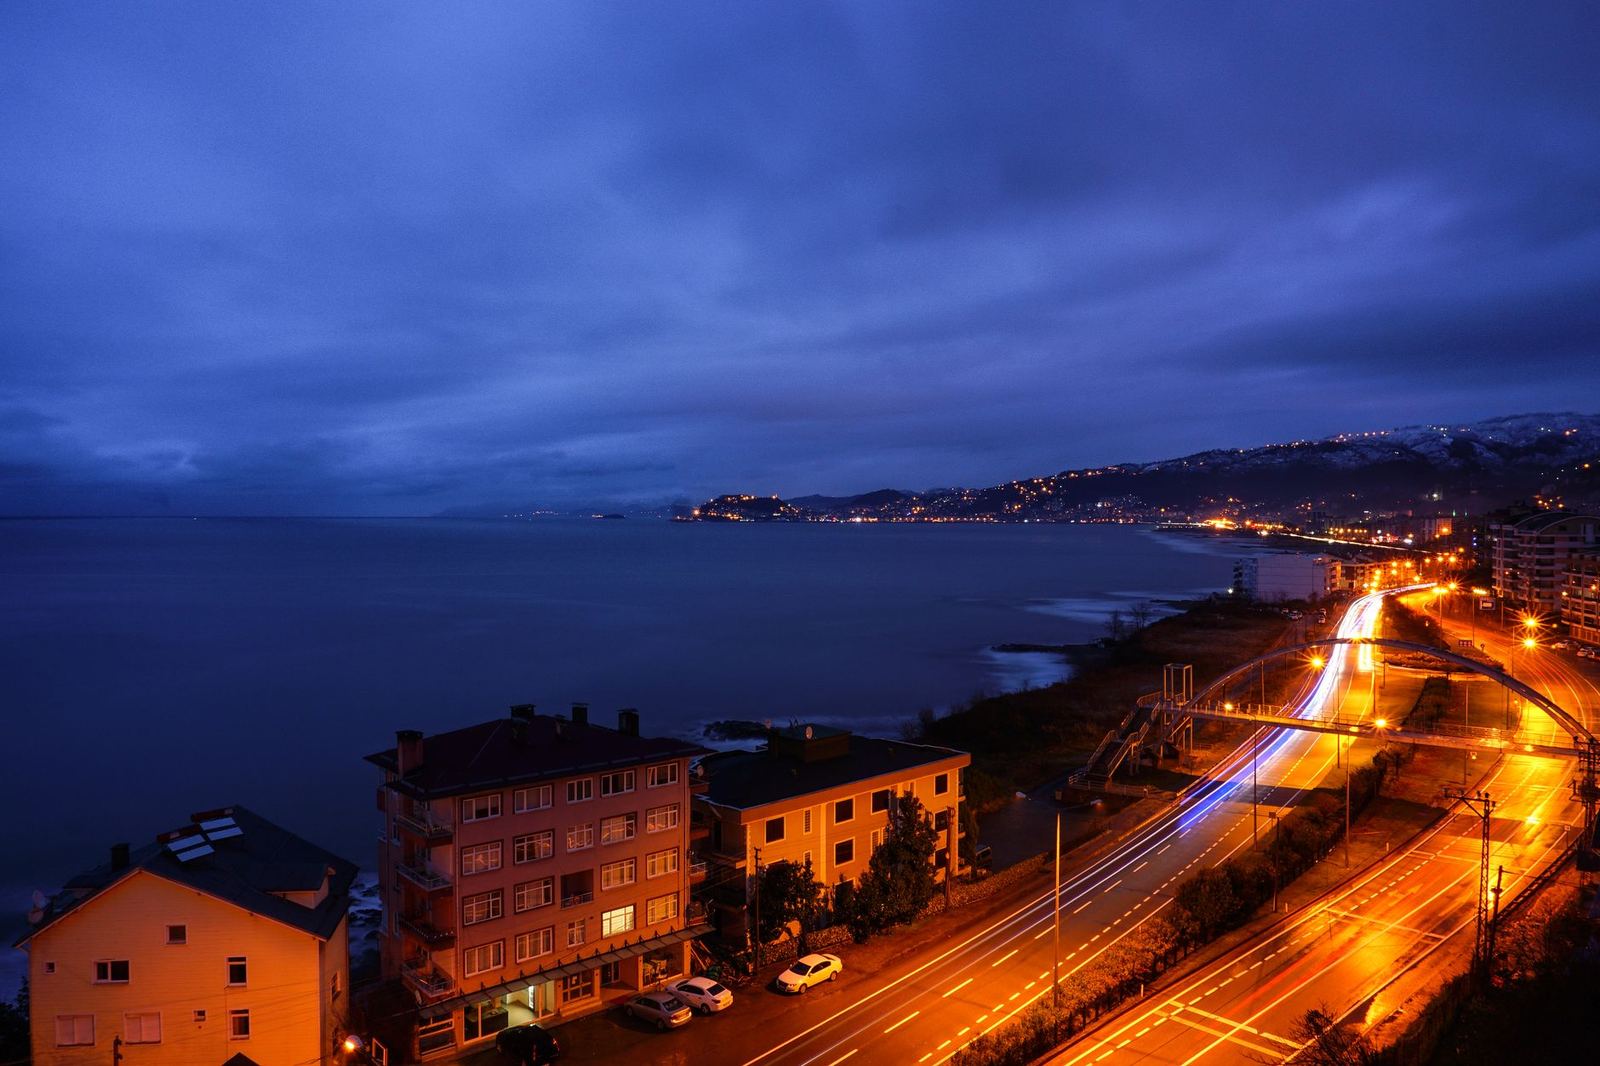
Start with a low ISO, a mid-range aperture and a tripod, then let the shutter stay open as long as the scene needs. Slow exposures turn moving traffic into light trails and smooth out water.
- Set the camera on the tripod and switch to manual or aperture priority.
- Pick a low ISO to keep noise down while the camera is steady.
- Focus on a bright, distant light, then switch to manual focus so it stops hunting.
- Take a test shot and check the highlights on the screen.
- Adjust shutter speed until lamps aren’t blown out and shadows still hold detail.
If you need a refresher on exposure basics, our guide to camera settings for travel covers how the three controls work together.
Look for blue hour too. In the short window after sunset, the sky still has color, which makes city skylines look richer than they do under black sky.
Photographing people at night
Night portraits and street scenes need a different approach, because people move. A long exposure will blur them, which can be a creative choice or a problem.
If you want sharp faces, raise the ISO and open the aperture rather than slowing the shutter. For tips on approaching strangers and asking permission, read about how to photograph people while traveling.
Photographing stars and the Milky Way on the road
Sky photography is a different game. The aim is to keep stars as points of light rather than short streaks, and the 500 Rule is the usual starting estimate.
AstroBackyard’s quick answer is to divide 500 by your lens focal length and crop factor to estimate the longest exposure you can use on a fixed tripod. Its worked example uses a crop-sensor camera with a 50mm lens and a 1.6 crop factor, which gives about 6.25 seconds.
Treat the result as a starting point, not a hard limit. High-resolution sensors can show trailing sooner, so zoom in on a test shot and shorten the exposure if stars look like ovals.
A beginner starting point
Photography Talk advises that you plan around a new moon and a Bortle 1 to 3 dark-sky site, then shoot at ISO 3200 to 6400, 20 to 25 seconds, and your widest aperture. Those are guide numbers, so adjust them to your lens and sky.
- Use manual focus and set it on a bright star or a distant light.
- Shoot RAW, which keeps more detail for editing later.
- Check the histogram rather than trusting the screen’s brightness.
Finding dark skies when you travel
Light pollution is the biggest obstacle. The Planetary Society says that light pollution is an important consideration when selecting a shoot location, and advises getting as far from city lights as possible.
The same Photography Talk guide notes that most cities sit at Bortle 6 or worse, which washes out the galactic core entirely (Photography Talk). Higher elevations help too, because there are fewer particles in the air to scatter light.
Plan your itinerary around this. A day trip to a mountain, desert or remote coast usually beats trying to shoot stars from a hotel balcony.
- Check the moon phase before you book a night out.
- Look at a light-pollution map for your destination.
- Scout the location in daylight, so you know where to set up in the dark.
- Tell someone where you are going, and take a charged phone.
Planning a night shoot into your itinerary
Night shoots work best when they are planned, not squeezed in after a long day. Decide which one or two evenings matter most, and keep the rest free for rest and food.
Pick a location in daylight, note where you will stand, and check how you will get back afterwards. Arriving before sunset gives you time to set up, and lets you catch blue hour before the real dark begins.
Keep expectations flexible. Cloud, haze or a bright moon can ruin a sky plan, so have a city backup nearby and shoot that instead.
Staying safe and keeping gear working
Night shooting takes you to quiet places. Choose busy, well-lit spots for city work, and keep your camera strap on your body.
Cold drains batteries faster, so carry a spare close to your body. Condensation can fog a lens when you move from a warm room to cold air, so let your gear adjust slowly in a bag.
Frequently asked questions
Can I do night photography with just a phone?
Show answer
Yes. Phone night modes handle city scenes well, especially if you rest the phone on a wall or a small tripod. Dark-sky work is harder, because phones struggle with faint stars.
Do I need a tripod?
Show answer
For anything with a long exposure, yes. If you don’t have one, brace the camera on a wall, a bag or the ground and use the self-timer.
What is the 500 Rule?
Show answer
It is a formula for the longest star exposure before trailing shows. Divide 500 by your focal length and crop factor, and treat the answer as a starting estimate.
What is the Bortle scale?
Show answer
It rates sky darkness. Photography Talk recommends a Bortle 1 to 3 site for the Milky Way, and says most cities sit at Bortle 6 or worse.