Standing in a busy market with changing light, you need camera settings for travel that work fast. Start in aperture priority, keep ISO low, watch your shutter speed, and shoot RAW.
These starting points sit within our wider guide to travel photography tips.
| Setting | Starting value |
|---|---|
| Sunny 16 aperture | f/16 |
| Sunny 16 shutter speed at ISO 100 | 1/100 or 1/125 second |
| Sunny 16 shutter speed at ISO 200 | 1/200 or 1/250 second |
| Travel portrait shutter speed | 1/100 s or faster |
| Travel portrait aperture | f/4 to f/5.6 |
Figures come from Wikipedia’s Sunny 16 rule entry and Expert Photography’s travel settings guide. They can change, so check the sources before you rely on them.
Why travel needs a flexible setup
Travel light is unpredictable. You move from a dim temple interior to a bright street in minutes, and the moment rarely waits while you fiddle with dials.
So the goal is not perfect settings. It is a reliable default you can adjust with one or two controls, leaving your attention on the scene.
Before you worry about exposure, check the basics:
- Shoot in RAW if you plan to edit, so you keep room to fix exposure and colour later.
- Pick a focus mode you trust and know how to move the focus point quickly.
- Decide on white balance. Auto works for many photographers, and RAW lets you change it afterwards.
Aperture priority as your everyday mode
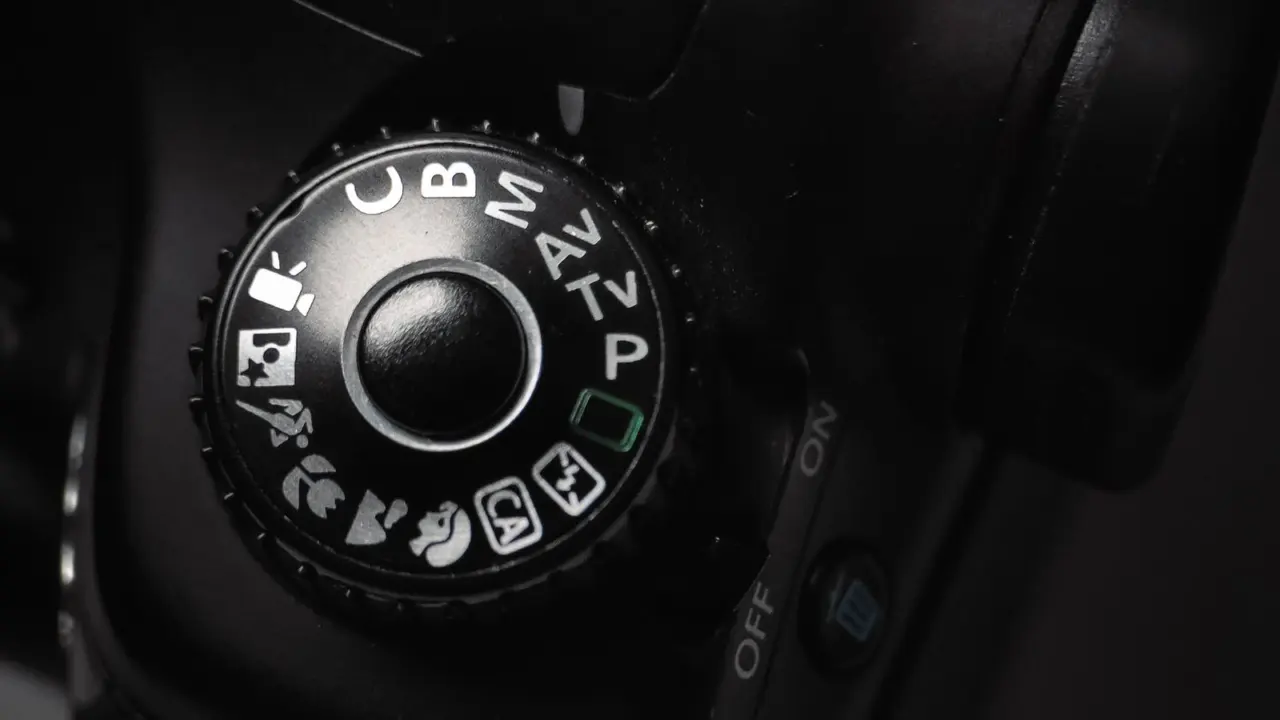
In aperture priority you choose the aperture and the camera picks the shutter speed. It suits travel because you control depth of field, the thing that most changes how a photo looks, while the camera handles quick light changes.
Expert Photography lists aperture priority among its typical settings for travel portraits, with an aperture of f/4 to f/5.6 and a shutter speed of 1/100 s or faster. Treat that as a starting point, not a rule.
Here is how aperture choices usually play out:
- Wide apertures blur backgrounds, which helps with portraits and cluttered scenes.
- Middle apertures keep more of the frame sharp for street and group shots.
- Narrow apertures suit big landscapes where you want foreground and distance sharp.
Wide lenses can be tricky at the widest setting if you miss focus. Stop down a little if you are not sure of your focusing.
ISO and shutter speed: keep one eye on each
Aim to keep ISO as low as possible, as Expert Photography advises. Many photographers also leave the camera on automatic ISO, and the camera then tries to keep the ISO low.
The catch is blur. In aperture priority with auto ISO, a dim scene can drag the shutter speed too slow for handheld shooting, so set a minimum shutter speed if your camera allows it.
Raise ISO manually when:
- People are moving and you need to freeze them.
- You are using a long lens handheld.
- The light drops and you have no tripod.
A slightly noisy sharp photo usually beats a clean blurry one. For after-dark scenes, see our notes on night photography while traveling.
The Sunny 16 rule for bright days
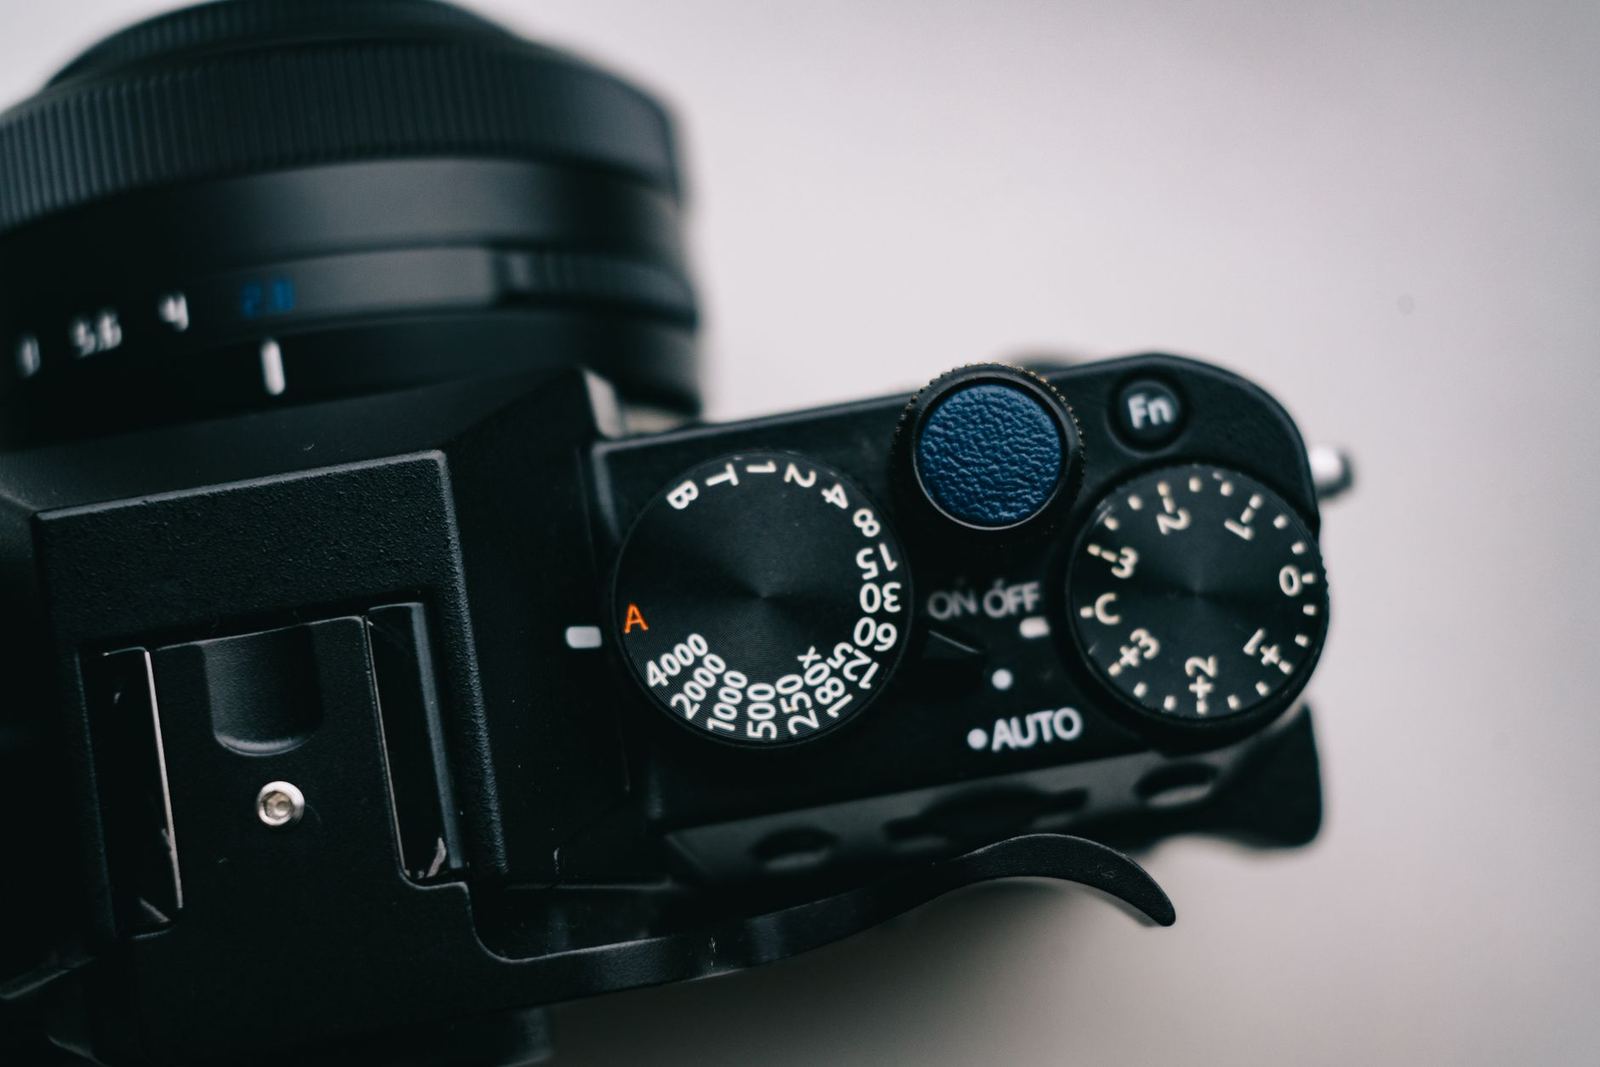
When the sun is strong, the Sunny 16 rule gives you a quick manual exposure with no meter. Per Wikipedia, you set the aperture to f/16 and the shutter speed to the reciprocal of the ISO for a subject in direct sunlight.
At ISO 100 that means 1/100 or 1/125 second, because on some cameras 1/125 second is the closest available setting. At ISO 200, use 1/200 or 1/250.
You can trade settings for the same exposure. Wikipedia’s example shows f/8 at 1/400 second at ISO 100 matching f/16 at 1/100 second. That lets you open up for a softer background while keeping the exposure.
It is a sanity check when your meter is fooled by bright sand, white walls or deep shade, not a replacement for looking at your screen.
Settings by situation
Use these as a short checklist and adjust as the light changes:
- Landscapes: narrow-to-middle aperture, lowest ISO, tripod or steady surface if the shutter slows.
- Street scenes: aperture priority, auto ISO with a minimum shutter speed, and pre-set focus.
- Portraits: f/4 to f/5.6 and 1/100 s or faster, as the Expert Photography guide suggests.
- Moving subjects: a fast shutter speed first, ISO raised to support it.
Your gear affects what is realistic. Sensor size and lens speed change how high you can push ISO, so read our take on the best camera for travel photography if you are still choosing.
Focus, white balance and exposure compensation
Expert Photography notes that you can set white balance when taking the photo or adjust it in post-production. Its author keeps white balance on automatic, which is a fine choice when you shoot RAW and move between sun, shade and indoor light.
Focus matters just as much as exposure. A sharp frame with a slightly wrong exposure is easy to rescue, while a soft frame is not.
Exposure compensation is your fastest correction tool in aperture priority. Here is a simple routine:
- Take a test frame and look at the preview and histogram.
- If the scene is too bright, apply negative compensation to protect highlights such as sky or white buildings.
- If a backlit subject is too dark, apply positive compensation.
- Shoot again and confirm before the moment passes.
Common mistakes to avoid
Most poor travel exposures come from a handful of habits. Spotting them early saves you from discovering them on the flight home.
- Forgetting to reset. A high ISO or odd compensation from last night’s shoot carries into the morning. Check your settings each time you switch the camera on.
- Trusting the screen in sunlight. A bright display can make dark shots look fine. Use the histogram instead.
- Chasing the widest aperture. Very shallow depth of field can leave faces soft if focus lands a little off.
- Ignoring shutter speed in auto modes. Aperture priority will happily choose a slow shutter in dim light.
- Shooting only one exposure of a tricky scene. Take a few frames with different compensation when light is high-contrast.
Build a habit before you travel
Practise at home with your default setup until changing aperture, ISO and exposure compensation is automatic. Then check the histogram and highlights after a few frames in each new place.
If bright areas are clipped, dial exposure down. If faces are dark in a backlit shot, dial it up. A few seconds of checking saves a whole day of misses.
Frequently asked questions
What is the best mode for travel photography?
Show answer
Aperture priority is a sensible default because you control background blur while the camera sets shutter speed. Expert Photography lists it among its typical travel portrait settings.
Should I use auto ISO when travelling?
Show answer
Many photographers do. The camera tries to keep ISO low, but check the shutter speed and set a minimum if you can, so handheld shots stay sharp.
Should I shoot RAW or JPEG?
Show answer
If you intend to adjust photos in editing software, shoot RAW, as Expert Photography advises. It keeps more room to fix exposure and white balance.
What is the Sunny 16 rule?
Show answer
On a sunny day, set the aperture to f/16 and the shutter speed to the reciprocal of your ISO. At ISO 100 that gives 1/100 or 1/125 second.