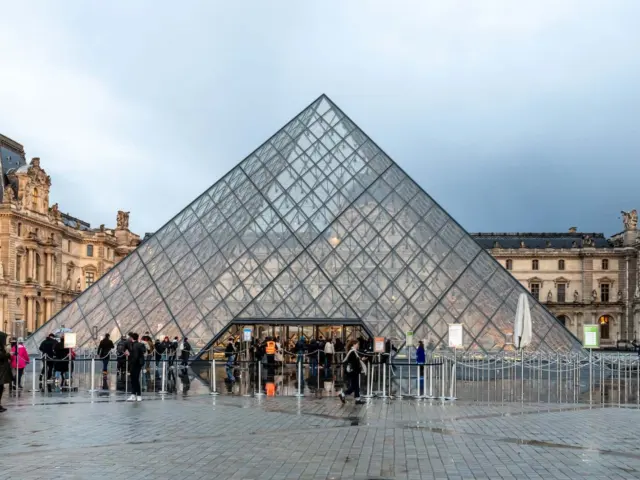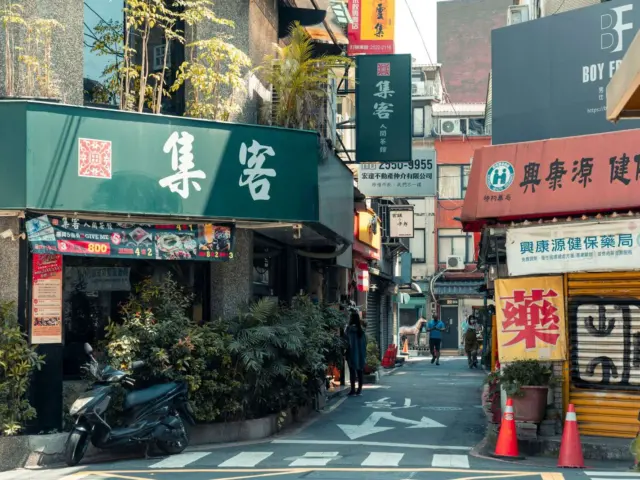
Planning a trip and wondering about the best time to photograph landmarks? Aim for the hour after sunrise or before sunset, then stay for the blue light after dark.
This guide sits within our wider look at photographing landmarks and tourist sites.
| Item | Key fact |
|---|---|
| Golden hour timing | Shortly after sunrise or before sunset |
| Golden hour light | Warmer glow and soft lighting |
| Blue hour timing | Sun slightly below the horizon |
| Blue hour sky | Deep blue tone in the sky |
Golden hour comes from the National Park Service Grand Canyon photography page, and blue hour from a Unique Photo community Q&A. Guidance can change, so check the source before you rely on it.
Best time to photograph landmarks depends on the sun, not the clock
A landmark looks different at every hour because the angle of the sun changes how shadows fall and how warm the colour appears. Midday light is high and hard, and it flattens facades and washes out detail.
Low sun does the opposite. It rakes across stone, glass and metal, which brings out texture and gives buildings depth.
Because sunrise and sunset move through the year, a fixed clock time is a poor plan. Look up the sun times for your exact date and place instead, and treat any rule of thumb as a starting point.
Golden hour: the reliable default
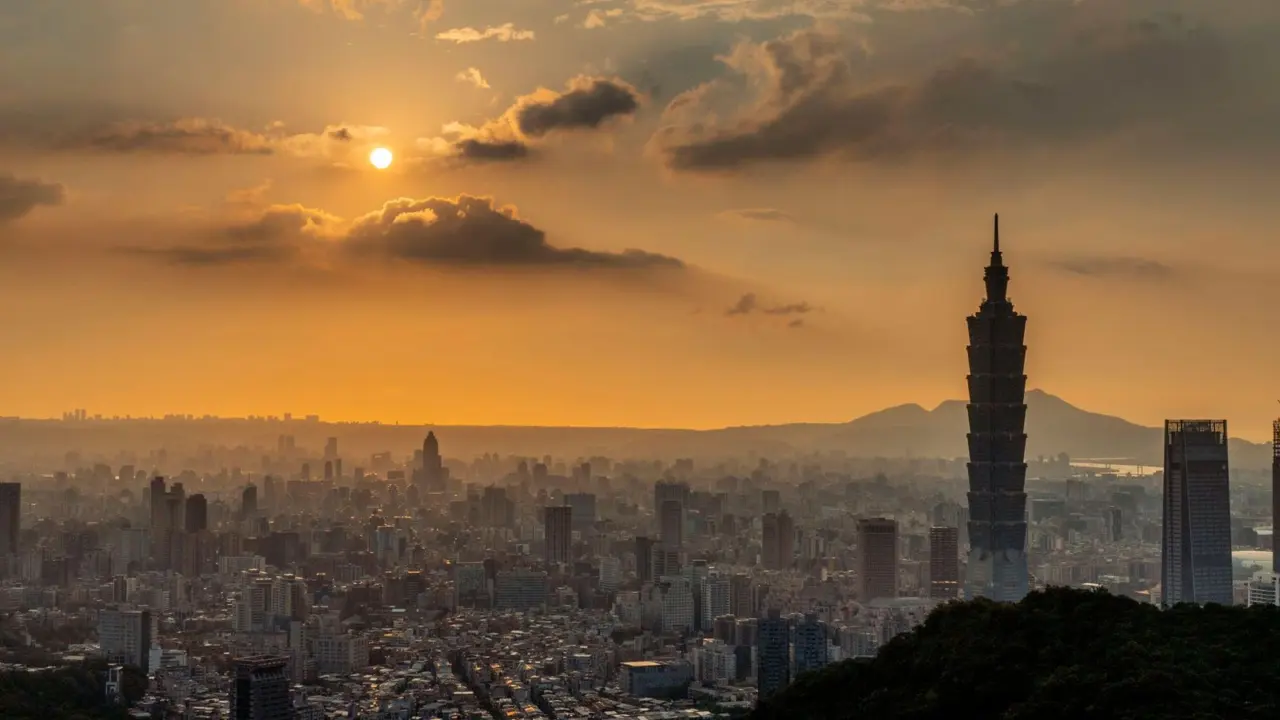
The National Park Service describes golden hour as the time shortly after sunrise or before sunset, when the sun casts a warmer glow and the lighting is soft. That is the window most photographers aim for, and it suits almost every kind of landmark.
Here is why it works so well for monuments and buildings:
- Warm tones flatter stone, brick and gilded details.
- Soft light reduces harsh contrast between sunlit and shaded areas.
- Long shadows add shape to towers, arches and statues.
- Faces in your travel portraits look kinder than under overhead sun.
Golden hour is not one exact length for every place. Planning tools use different definitions, so arrive early and give yourself a generous margin.
Sunrise or sunset?
Both give you good light, but they offer different things. Which one you choose depends on the landmark and on how you like to travel.
Why sunrise often wins
Early starts usually mean fewer people in your frame. Famous squares, bridges and viewpoints are quieter, and you can set up a tripod without being jostled.
Morning air is often clearer and calmer too, which helps with reflections in water.
Why sunset can be easier
Sunset is friendlier to travellers who dislike early alarms. You can scout your spot earlier in the day, work out where people gather and then settle in.
Sunset spots can be crowded, so arrive early to claim a good position.
Check which way the landmark faces
The direction a facade points decides when it is lit. An east-facing front glows in the morning, while a west-facing front glows in the evening.
A map app with a compass, or a sun-tracking planner, will tell you which side is lit before you go.
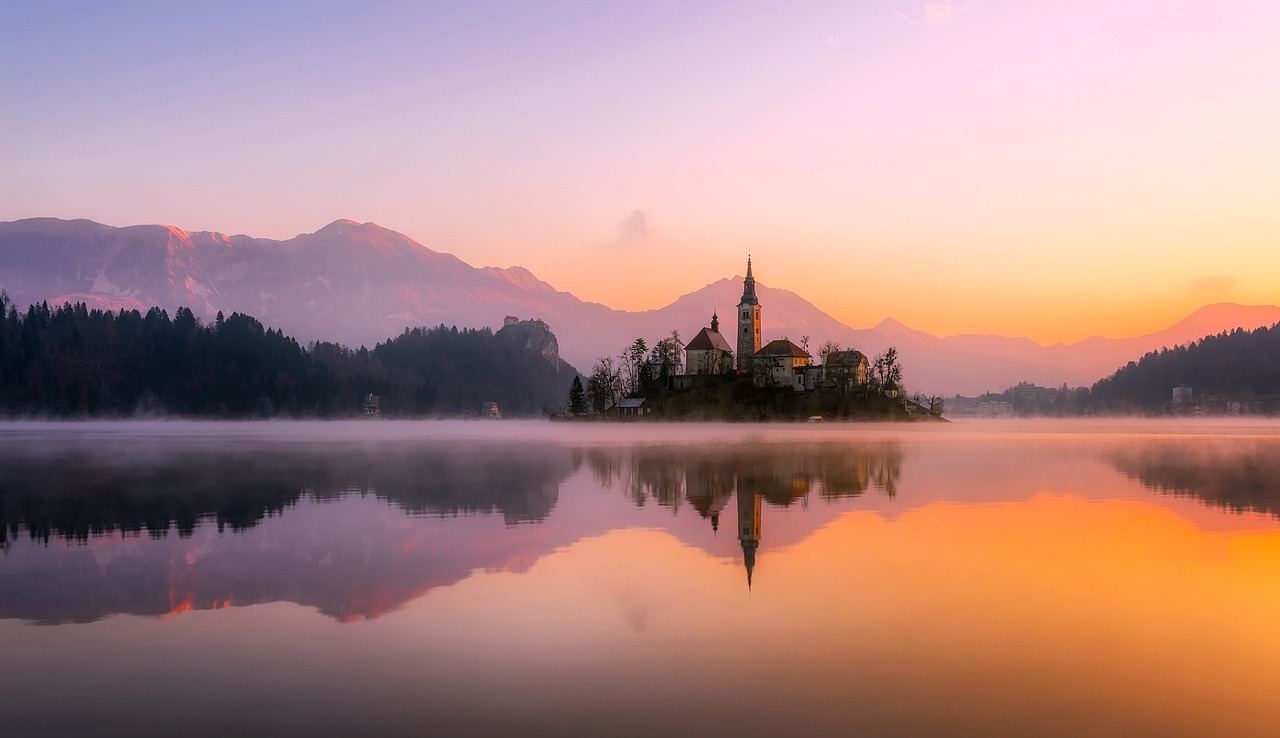
Blue hour: the part many visitors skip
A Unique Photo community Q&A describes blue hour as the twilight period when the sun is just below the horizon, and the sky takes on a deep blue tone. It follows sunset and comes before sunrise.
For landmarks, this is when lit windows, floodlights and street lamps start to balance the sky. The result is a rich, even scene that is hard to get at any other time.
Practical tips for blue hour:
- Bring a small tripod or rest the camera on a solid ledge, because exposures get longer.
- Shoot while the sky still has some colour, rather than waiting for full darkness.
- Check where the landmark’s lighting switches on, since some sites light up only on certain evenings.
- Keep your phone’s night mode steady by using a timer or a remote.
If your subject is a view of many buildings rather than one monument, our guide on how to photograph city skylines covers that setup in more depth.
Seasons, weather and crowds
The time of year changes everything. In summer in northern places, golden hour comes very late and sunrise very early. In winter, the sun stays low all day, so good light lasts longer and you can shoot at friendlier hours.
Weather matters as much as the clock. Thin cloud can soften light all day, while a clear sky gives the strongest colour at the edges of the day. Heavy overcast is flat but useful for details and close-ups.
A few habits help with crowds:
- Go on a weekday where you can.
- Arrive well before the light peaks so you can pick a spot.
- Walk a little beyond the main viewpoint, since the second and third angles are often empty.
- Stay after sunset, because many visitors leave once the sun is gone.
Know the rules before you plan the shot
Timing is only one part of the plan. Some sites limit entry times, ban tripods or restrict photography indoors, and these rules vary by place.
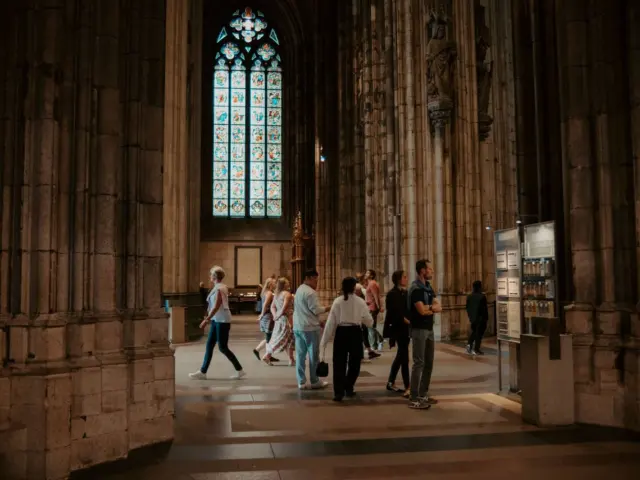
Interior shoots are a separate topic, and the photography rules in museums and churches are worth reading before you go inside. For outdoor sites, check the official visitor page for opening hours and any equipment limits.
A simple plan you can copy
Good light is easier to catch when you have a routine. The steps below turn the ideas above into a short checklist you can run for any city, temple, bridge or monument.
Before you leave, save the sunrise and sunset times in your phone and note the walking time from your hotel to the viewpoint. Pack a spare battery, since cold mornings and long exposures drain power quickly. Leave space on your memory card, because you will take more frames at the edges of the day than at midday.
On site, take a few test shots as soon as you arrive and check the brightest areas of the screen. If the sky is blowing out, lower the exposure slightly; if the foreground is too dark, try a different angle or wait a few minutes as the light changes. Light moves fast at the edges of the day, so recheck every few minutes rather than trusting your first setting.
- Pick the landmark and find out which way its main face points.
- Look up sunrise and sunset for your travel date.
- Arrive well before golden hour to scout and set up.
- Shoot through golden hour, then stay for blue hour.
- Keep one backup slot in case the weather turns.
Having a spare morning or evening is the most useful trick of all. Cloud can ruin a single planned sunset, and a second try often saves the trip.
Frequently asked questions
What is the best time to photograph landmarks if I only have one slot?
Show answer
Choose the period shortly after sunrise or before sunset. The National Park Service describes this as the golden hour, with a warmer glow and soft lighting.
Is blue hour worth staying for?
Show answer
Yes, if the landmark is lit at night. Blue hour is the twilight period when the sun is just below the horizon and the sky turns a deep blue, which pairs well with lit buildings.
Can I use midday light?
Show answer
You can, but it is harsh and flat for most buildings. It works better for shaded details, interiors or overcast days.
How do I find the exact sun times?
Show answer
Use a sun-position or sunrise and sunset planner for your exact place and date. Definitions of golden and blue hour vary between tools, so keep a margin.