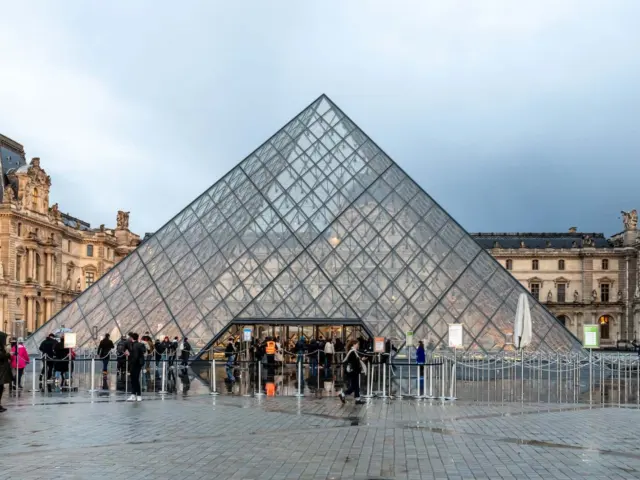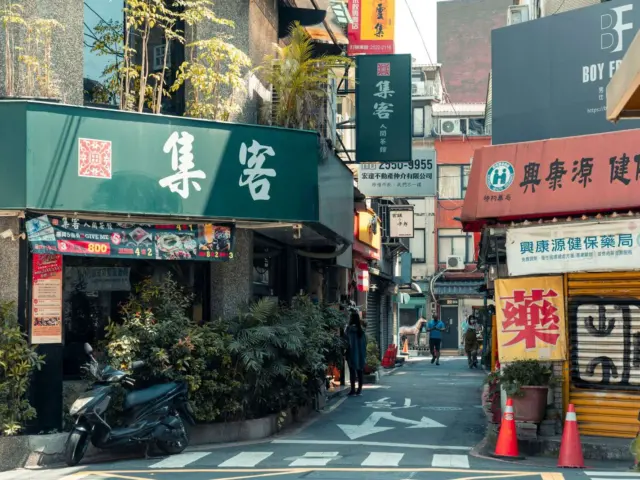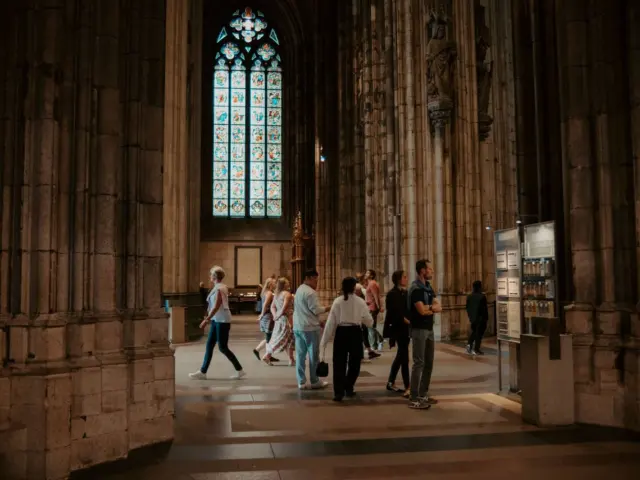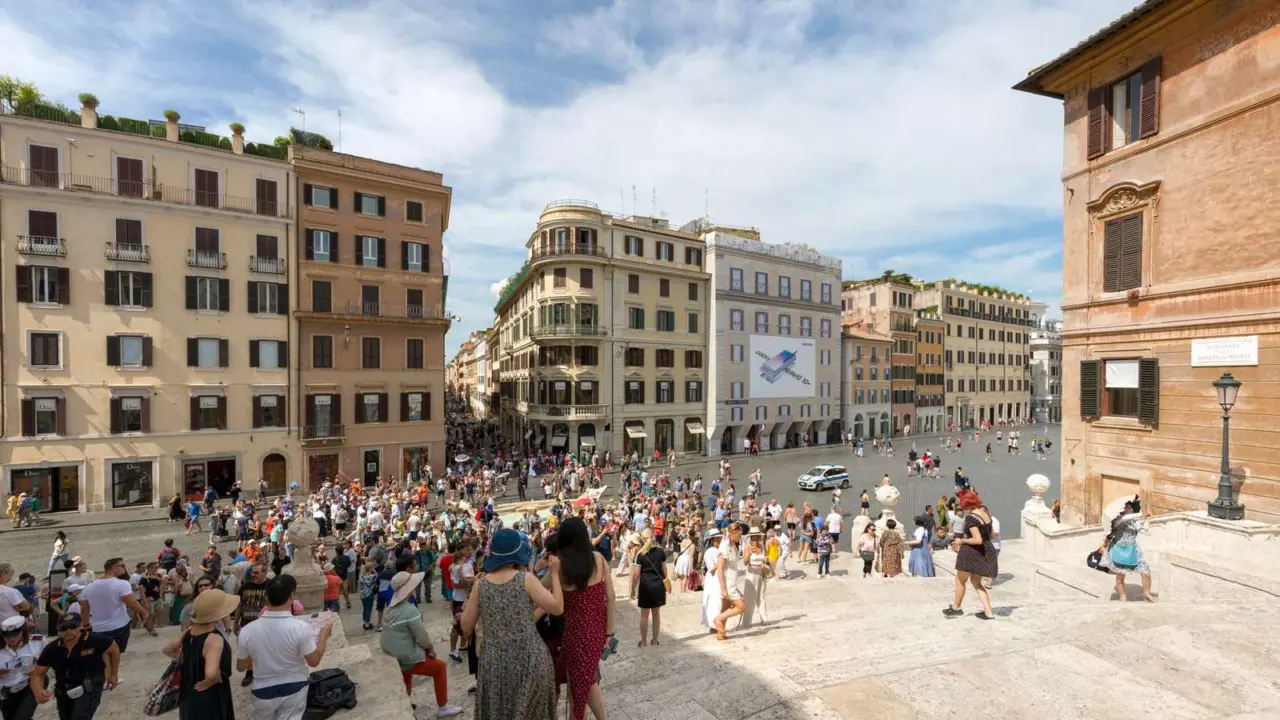
Standing in a packed plaza with a camera is frustrating, but you can still come home with good frames. Here is how to photograph crowded tourist attractions: change your timing, angle and shutter speed, and treat the crowd as part of the story.
| Item | Value |
|---|---|
| Normal walking pace used in one exposure calculation | about 1.4 m/s |
| Time a walker needs to clear their own width | 0.32 seconds |
| Example long exposure length | 240 seconds |
| Share of that exposure one passing walker covers a pixel | 0.13 percent |
| Timing advice for beating crowds | Get there right at dawn |
The figures come from Fstoppers and Digital Photography School. They can change, so check the sources before you rely on them.
This guide is part of our wider look at photographing landmarks and tourist sites.
Photograph crowded tourist attractions by starting with timing
The cheapest crowd-control tool is your alarm clock. One guide puts it plainly: go early. It advises, “Beat the crowds by getting there right at dawn.”
Plan the evening too. The same guide says, “If you are not a morning person, you still have chances to take great photos.” Many sites thin out after the tour buses leave, and the light is often softer then.
Before you travel, think through a few practical points:
- Check opening hours, so you know whether you can enter at first light or only photograph from outside.
- Scout the site’s orientation, so you know where the sun will fall at sunrise and sunset.
- Pick a backup shot for the busiest hour, so you are not wasting it waiting.
- Charge batteries fully, because early starts and long exposures both demand power.
Change your angle and your distance
Crowds live at eye level. Moving your camera up, down or closer often removes them from the frame without any special equipment.
One of the simplest ideas is to shoot up. As one guide says, “A good way to avoid the masses is to photograph above their heads.” Rooflines, domes, towers and ceilings are often empty even when the ground is full.
You can also go in tight. The same source suggests you “Get closer and make details stand out.” A carved doorway, a tile pattern or a lantern can say as much about a place as a wide shot of the whole landmark.
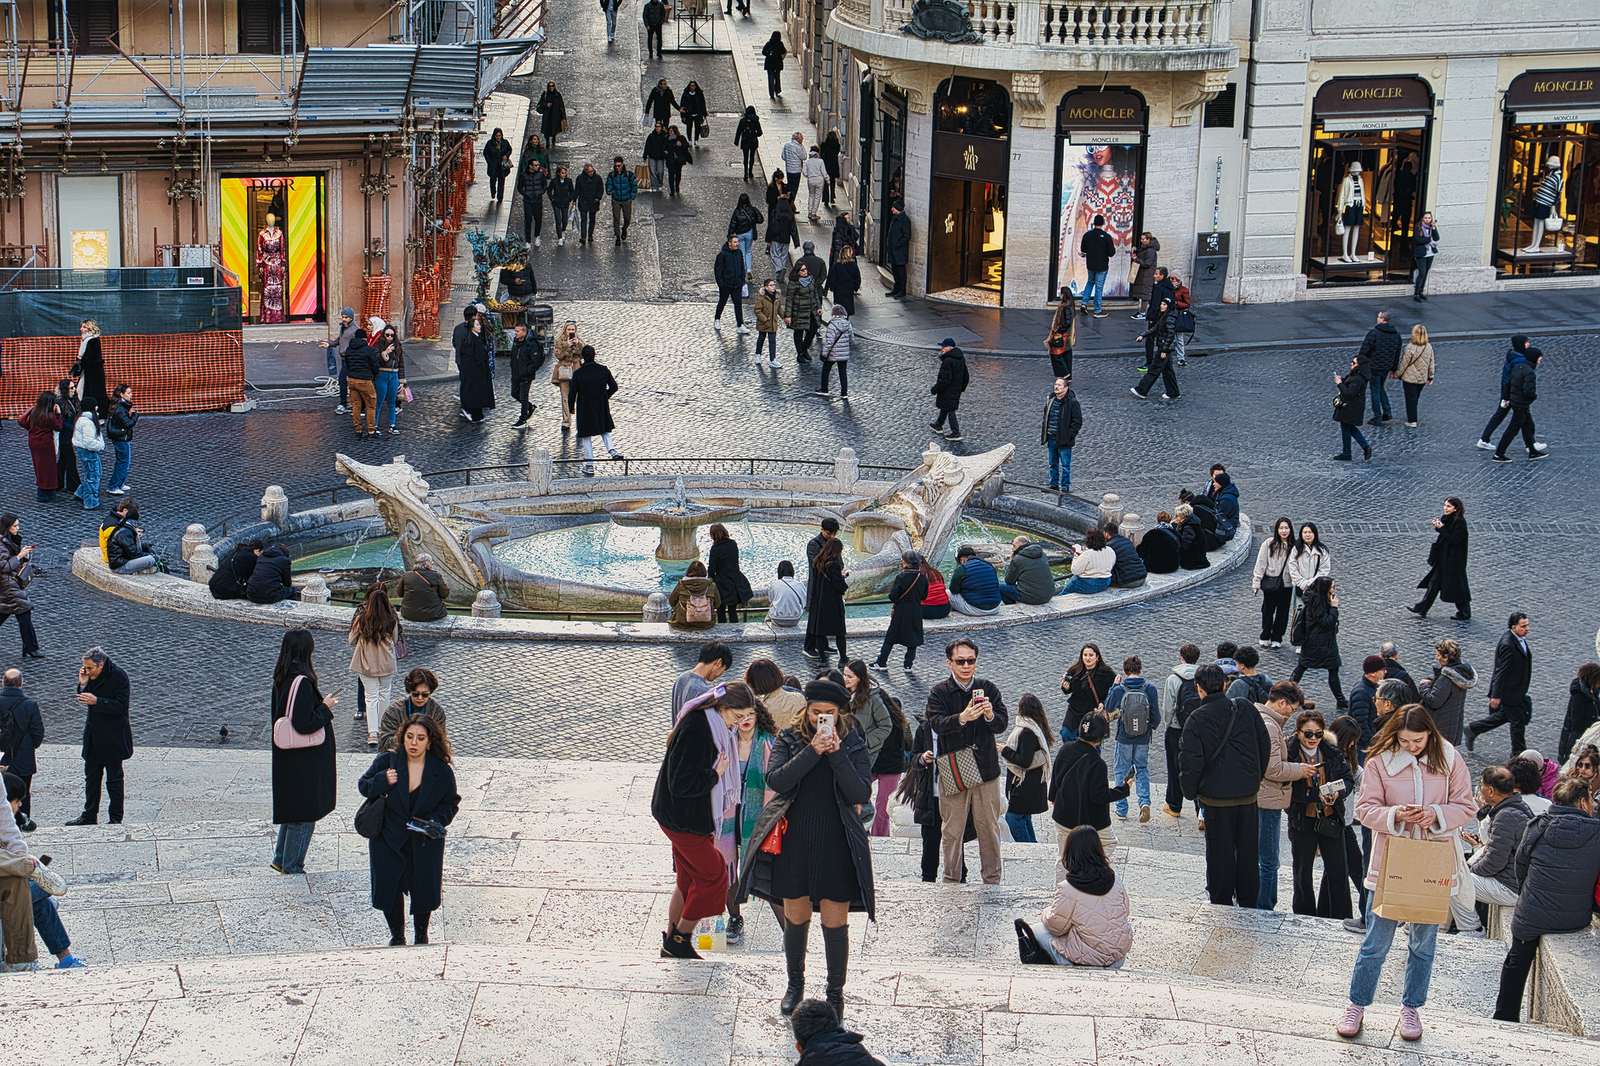
A few framing habits help in any busy spot:
- Look for a higher viewpoint, such as a bridge, steps, a café terrace or a hillside.
- Use a longer lens to isolate a small part of the scene and crop out the rest.
- Get low and shoot upward so the subject rises above the heads in front of you.
- Wait for gaps. Crowds move in waves, and a clear few seconds often arrives if you stay patient.
How long exposures make crowds disappear
A long exposure turns moving people into a faint smear or removes them altogether. It needs a tripod, a scene where people keep walking, and a way to cut the light, usually a neutral density filter in daylight.
The reason it works is simple arithmetic. According to the Fstoppers calculation, “At a normal walking pace of about 1.4 m/s, they need 0.32 seconds to clear their own width.” Over a long exposure, that is a tiny slice of the total time.
The same article shows the effect: “During a 240-second exposure, that is 0.13 percent of the total.” A walker who barely lingers in any one spot leaves almost no mark on the sensor.
There are limits to watch for:
- People who stand still, such as someone posing or queuing, will stay in the picture.
- Very dense crowds can leave a ghostly haze rather than a clean scene.
- Brightly coloured clothing can leave a faint stain on pale stone, so check the result at full size.
- Strong editing, such as heavy contrast, can bring faint trails back into view.
Take several test frames and compare them. If you are curious about a cleaner, people-free approach, see our guide on how to take photos without tourists.
Make the crowd part of the picture
Sometimes the best answer is to stop fighting. The Digital Photography School guide ends with a pragmatic idea: “If nothing else works out, you can just photograph the people.”
A crowd can show scale, energy and the real experience of being at a famous place. Instead of hiding it, find a good composition around it.
Try these approaches:
- Frame a single person against the landmark to show size.
- Catch interesting gestures, such as someone taking a selfie or pointing upward.
- Use a slower shutter for a gentle motion blur while the landmark stays sharp on a tripod.
- Watch the light and wait for people to fall into shadows or silhouettes.
This overlaps with street photography while traveling, where timing and observation matter most.
Mindset and patience at busy sites
Crowded places reward patience. Rushing to grab a frame between elbows usually gives you a shaky, cluttered picture you will not want to keep.
Pick a spot, settle in and watch how people move. Most sites have a rhythm: groups arrive, pose, take their pictures and leave. Once you see the pattern, you can time your shutter for the quiet moment between waves.
It also helps to decide what you want before you lift the camera. Ask yourself whether the picture is about the building, the atmosphere or the people. A clear answer tells you whether to wait for a clean frame, shoot a detail or lean into the crowd.
Finally, keep your kit simple. A small bag, one or two lenses and a compact tripod let you move through tight spaces and change position quickly. Heavy gear in a dense crowd slows you down and annoys everyone around you.
A simple plan for your next busy landmark
Putting it together, you can work through a landmark in a sensible order. Start with a wide shot while the site is quiet, then work toward the details as it fills up.
- Arrive at dawn, or stay for the late light.
- Shoot your wide, clean frames first.
- Move to high and low angles as the crowds build.
- Switch to details and close-ups.
- If you have a tripod and filter, try a long exposure on a busy walkway.
- Finish by photographing the people themselves.
Be considerate while you do it. Keep tripods out of walkways and entrances, follow site rules, and never block others for a long wait.
Afterwards, review your frames calmly. Delete the near-duplicates, compare your long exposures at full size, and note which times and angles worked. That record makes your next visit to a busy place faster and more productive.
Over time you will build a feel for how a particular site behaves through the day. Keep notes on where the light falls, when the crowds peak and which viewpoints stay quiet, and you will plan each visit with more confidence.
Frequently asked questions
What is the best time to photograph a crowded attraction?
Show answer
Dawn is the usual advice. One guide says to beat the crowds by getting there right at dawn, and suggests late visits if you are not a morning person.
Do I need a tripod to remove people from a photo?
Show answer
Yes, for the long exposure method. The camera must stay perfectly still while people move through the frame.
Will a long exposure remove everyone?
Show answer
No. People who stand still stay visible, and very dense crowds can leave a faint haze. Take several frames and pick the cleanest.
What if the place is too busy for any of this?
Show answer
Shoot above heads, focus on details, or photograph the people. A crowded scene can still make a strong, honest picture.